


Subdomains are an aesthetically pleasing way to add more websites to your server without having to purchase additional domains. In VestaCP adding a subdomain is simple and easy, there are only a few steps required. Let us get started and create a SubDomain using VestaCP.
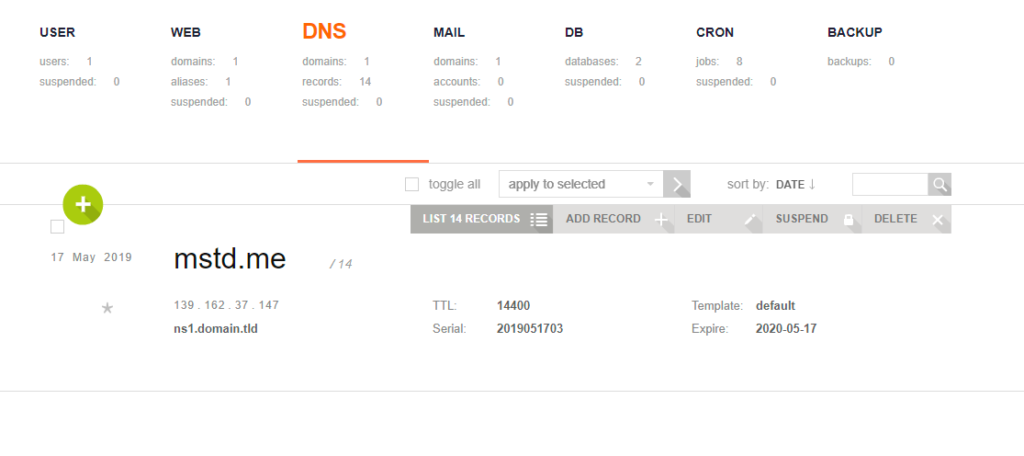
Move to the “DNS” tab then mouse over the domain you would like to create a subdomain for and then click “Add Record”;
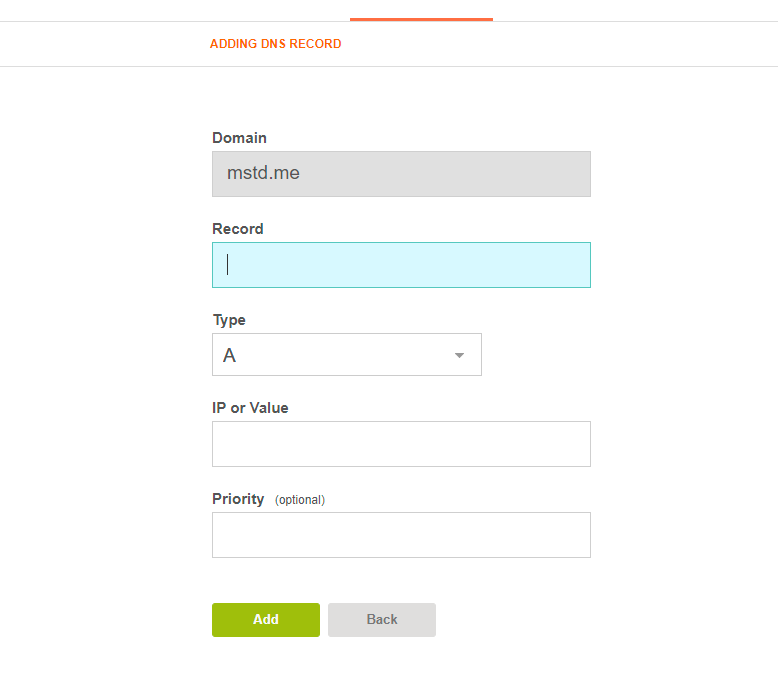
In the “Record” field enter the subdomain name you would like to create. The click of the type and select “cname”, then for the “IP or Value” field enter the IP address of your server. Once you are done click add to confirm the addition of the DNS record.
Create a SubDomain using VestaCP
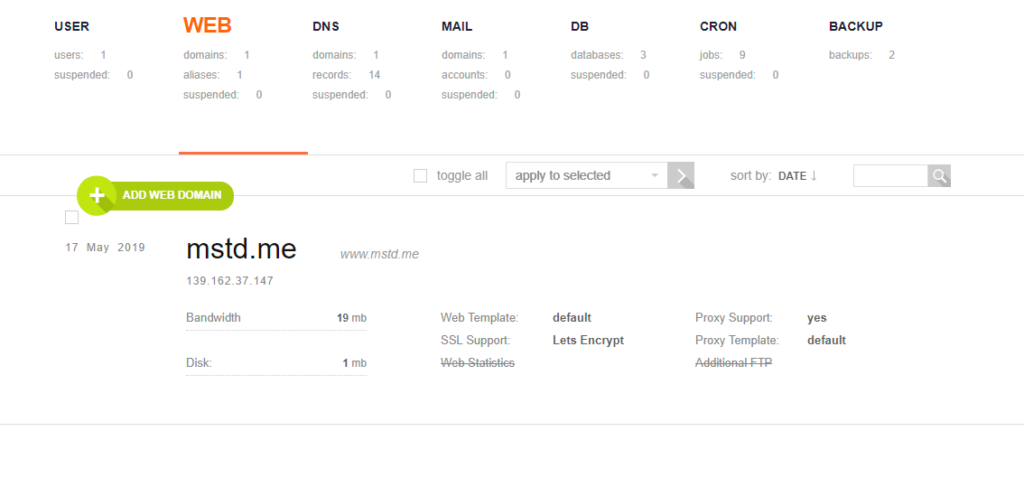
Now move over to the “WEB” tab and then mouse over the plus symbol and click on “Add Web Domain”;
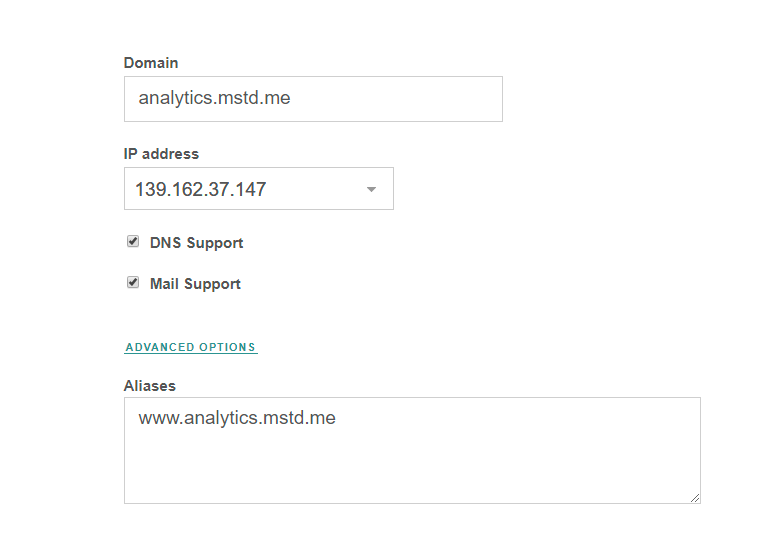
Enter the full subdomain including the actual domain name and don’t forget to check the SSL certificate option to generate an SSL certificate for your subdomain. Finally, click add to finished adding your subdomain; Now you can build a website in your subdomain and it will function just like a regular domain would. If you haven’t installed VestaCP yet you can do so with our tutorial here.


The Let’s Encrypt SSL Certificate does not issue for the subdomain. Literally one error after another.