


Nextcloud is an amazing personal cloud solution that rivals other cloud solutions such as Dropbox, Google Drive, OneDrive, and many others. With Nextcloud, you can rest assured knowing that your data is in your hands and your hands only. Privacy concerns aside you can activate encryption to secure your data from prying eyes. Nextcloud comes with an app store from which you may install all kinds of apps, ranging from video conferencing all the way to password managers. Now let’s start to install Nextcloud 20 using VestaCP.
Add the domain you would like to use or create a subdomain for your Nextcloud installation before you continue;
How to Install Nextcloud 20 using VestaCP
Create a Database:
Thankfully VestaCP comes with all the prerequisites that are required and all that is left to do is create a database and change the apache2 template that your web domain is using and then you may proceed to download the code for Nextcloud and you will be good to go.
Note: When creating a database choose the “utf8mb4” character set for the database to work properly with Nextcloud.
Change Apache2 Web Template:
Now we need to change the apache2 template to include fast CGI or the site will not load properly;
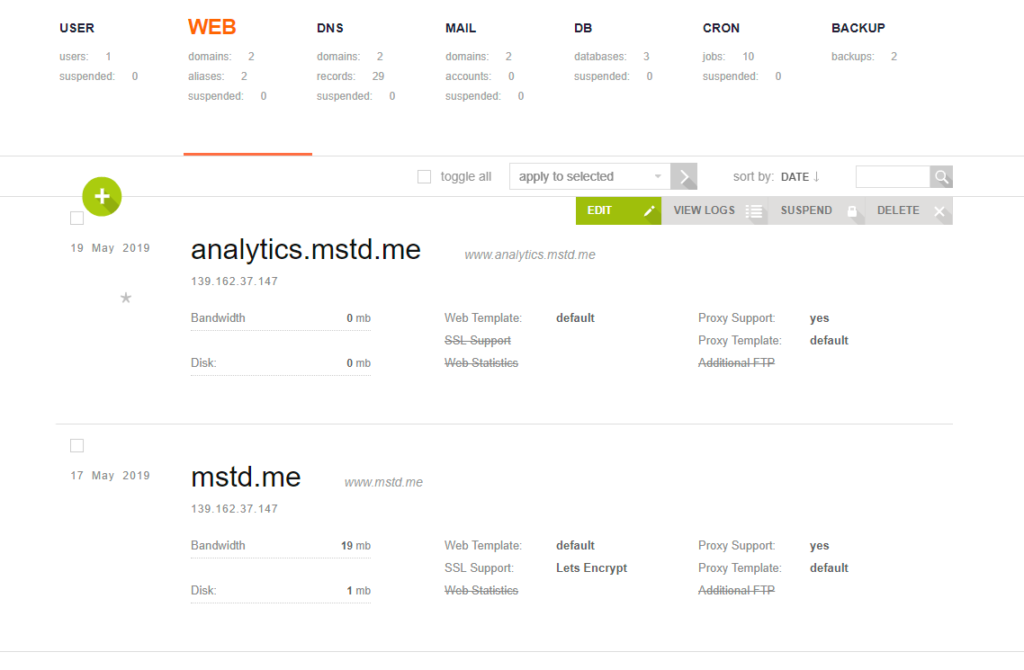
Go to the “WEB” template and hover over the domain that you will be installing Nextcloud into then click on “edit”;
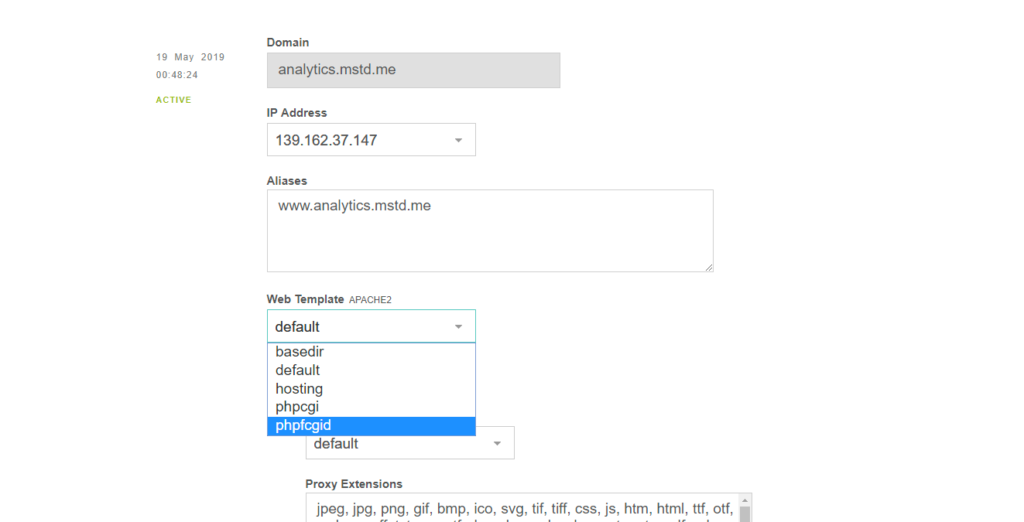
Click on the Web Template option and select “phpfcgid” then click save to continue;
Installing Nextcloud:
First, download the installation script from the Nextcloud website; You can do this by either downloading the setup file directly into your chosen domain’s root folder using SSH, or you can download it to your computer then upload it using an FTP client.
sudo wget https://download.nextcloud.com/server/installer/setup-nextcloud.php
Next, go to the domain name you have chosen and add /setup-nextcloud.php to the end of it to load the setup page, don’t forget to use “HTTPS” instead of “HTTP”;
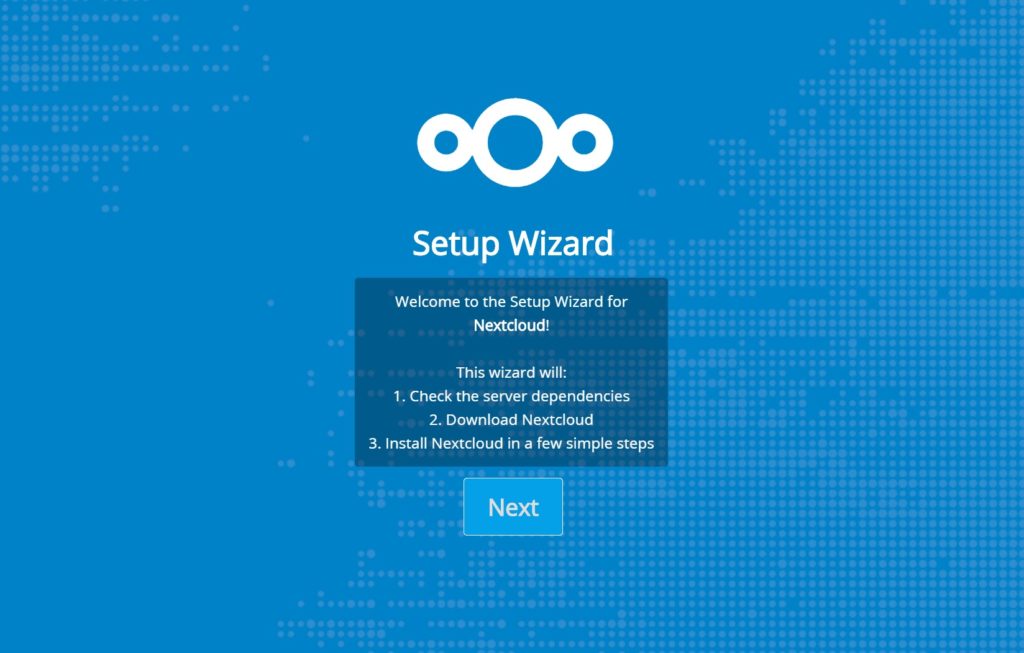
You will be greeted with the Setup Wizard; Just click Next to continue.
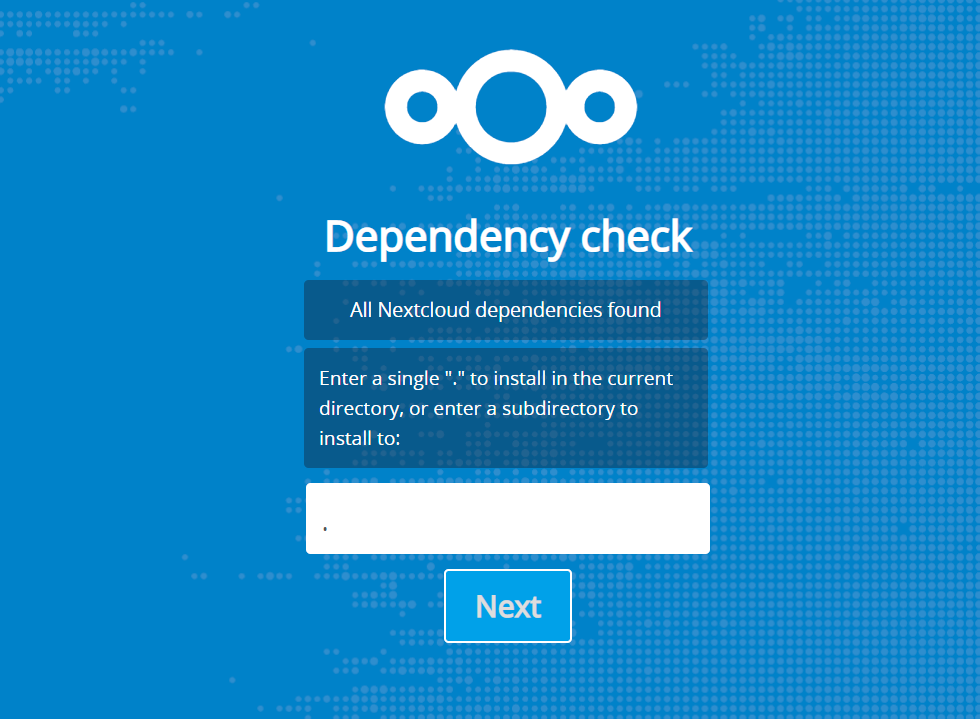
Now the Setup Wizard will check for dependencies but everything should be installed properly; In the field above you may choose to install Nextcloud in the sub-directory by entering the directory name you would like to install it into. Since we are installing Nextcloud into a subdomain we will simply enter a “period” to inform the installer to install into the current directory. Click Next to begin the installing Nextcloud.
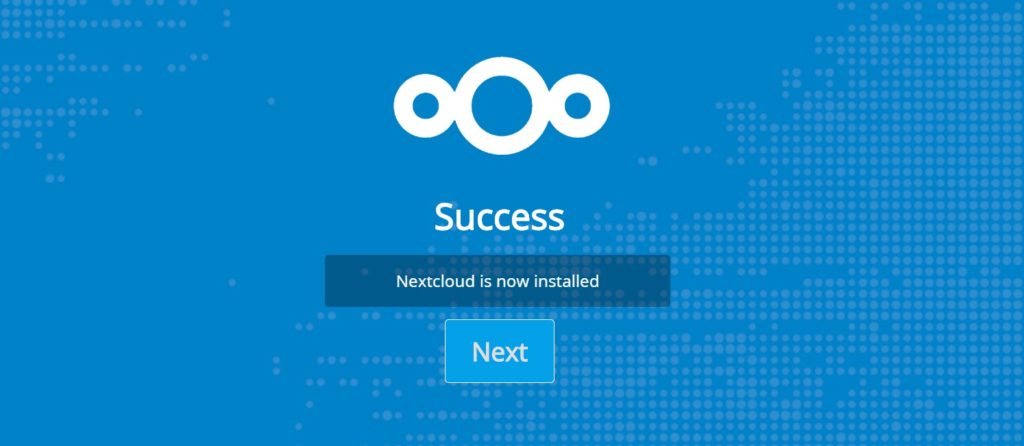
If everything has gone correctly you will see the above message indicating that Nextcloud is now installed. Click “Next” to continue;
Create Admin account & Configure Database:
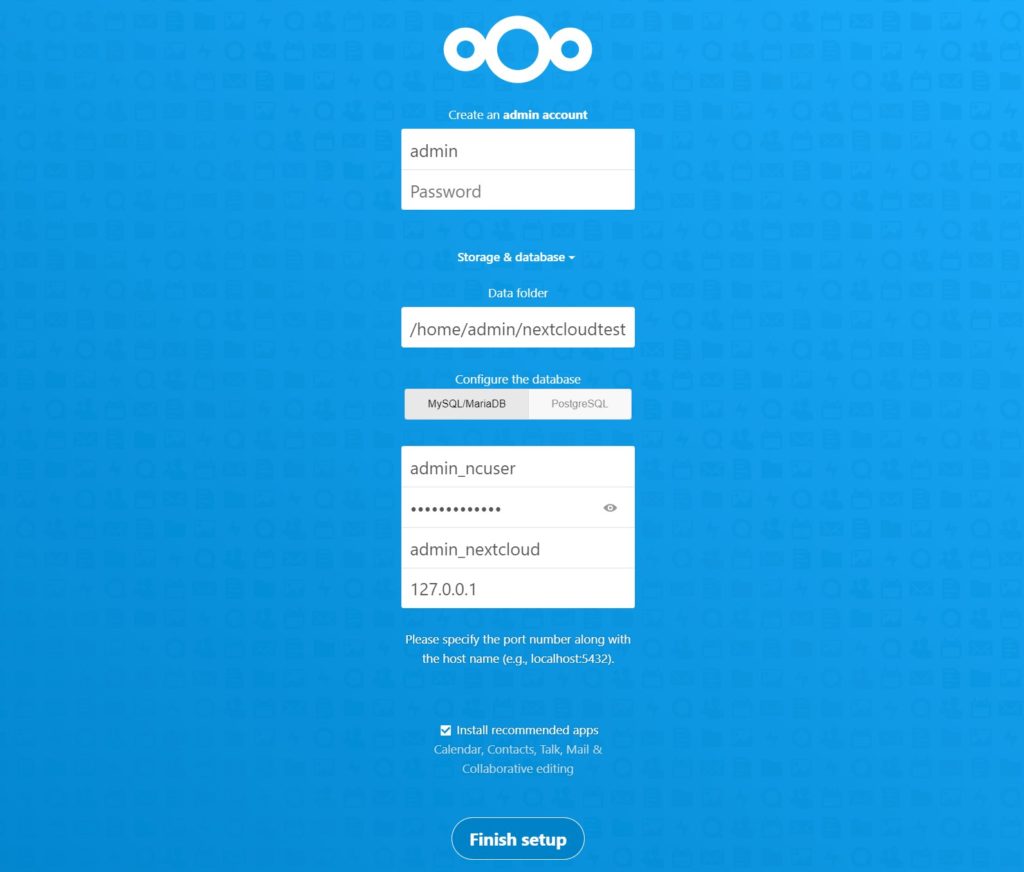
Here you will enter your database details as well as create an Admin user; Set the data folder as well before you continue. Note: That you may need to change hostname from localhost to “127.0.0.1” if you run into trouble and get an error message. It is best to install the recommended apps as they greatly improve the functionality of Nextcloud. Click Finish setup to complete the setup and enter into your Nextcloud installation.
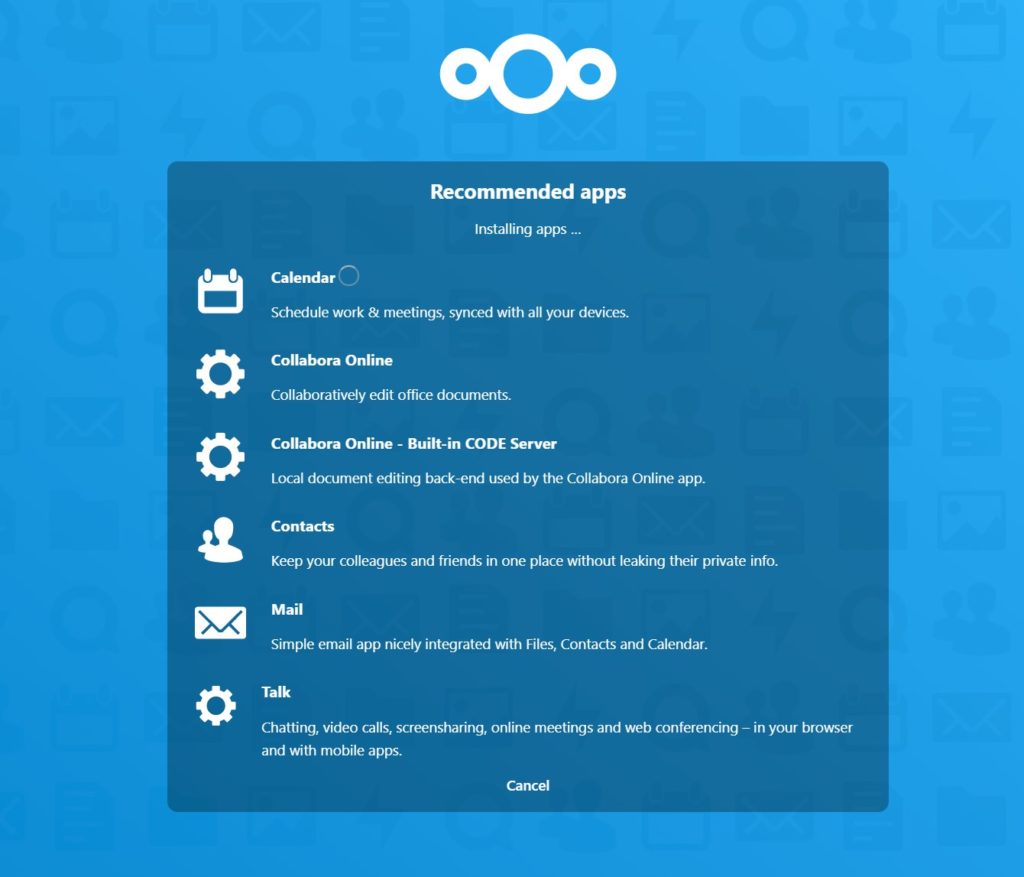
If you selected the option to install the recommended apps you will see this screen, do wait a minute for the apps to install.
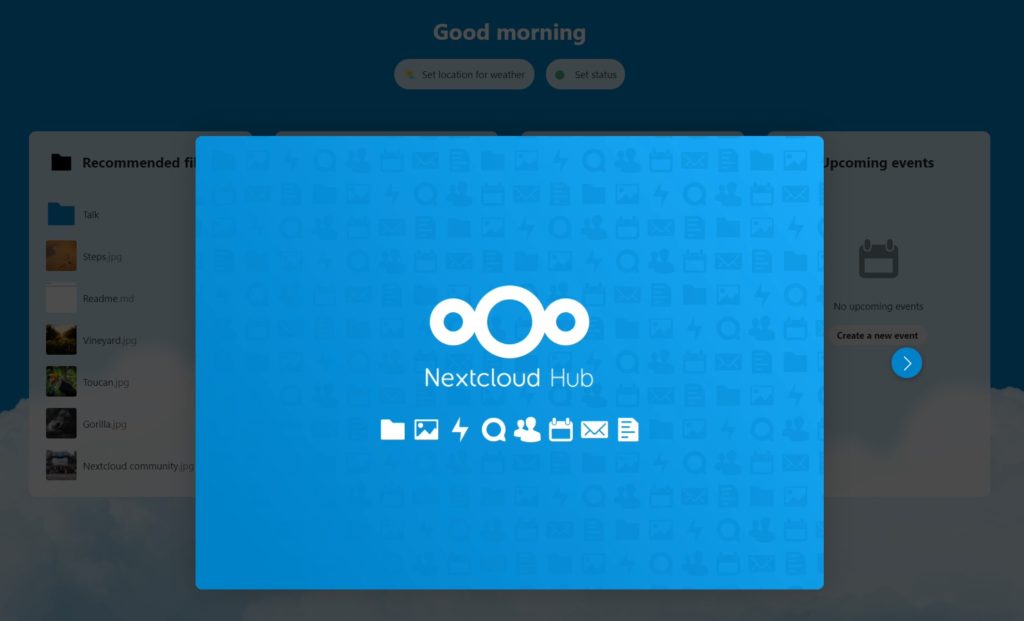
You will be greeted by a welcome popup that will give you some information about Nextcloud; feel free to read it and explore your new installation.
Find out how to Fix Common Issues with Nextcloud;
Don’t forget that Nextcloud’s features can be added upon and improved using the app store; Be sure to check it out by clicking on the gear icon on the right side of the top bar then clicking on Apps.


