


Running a VPS is not as hard as many people think. However to make it easier we must use tools that are available to us. So as to reduce the load and strain so things move smoothly. That is where control panels come in. Instead of having to configure DNS Nameservers, Mail servers, Apache, Nginx, and all sorts of other services manually, we use control panels to automate and streamline what we want to accomplish. VestaCP is a control panel that is open-source and free, which makes it perfect for our use case. We will configure and install this control panel into our Ubuntu VPS in a few steps. Don’t worry this won’t take too much of our time. Install VestaCP on Ubuntu 18.04 now.
Domain Registrar DNS settings
First we will need to open our domains DNS settings on our registrars website, I use GoDaddy but if you use something else there should be an equivalent to the settings that i will be changing on GoDaddy.
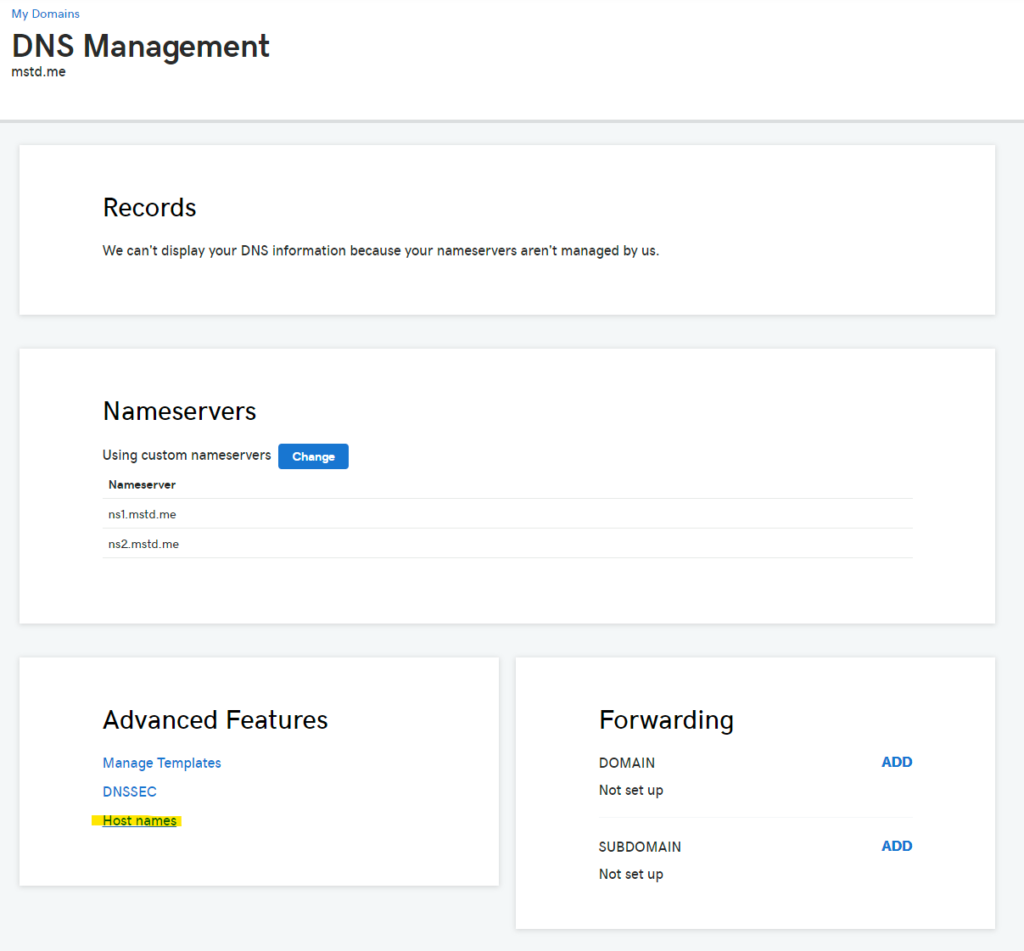
Once on the “manage DNS” page, first we need to edit the Host names settings to point the domain to our servers IP address and create its nameserver entires; Click on Host names to continue.
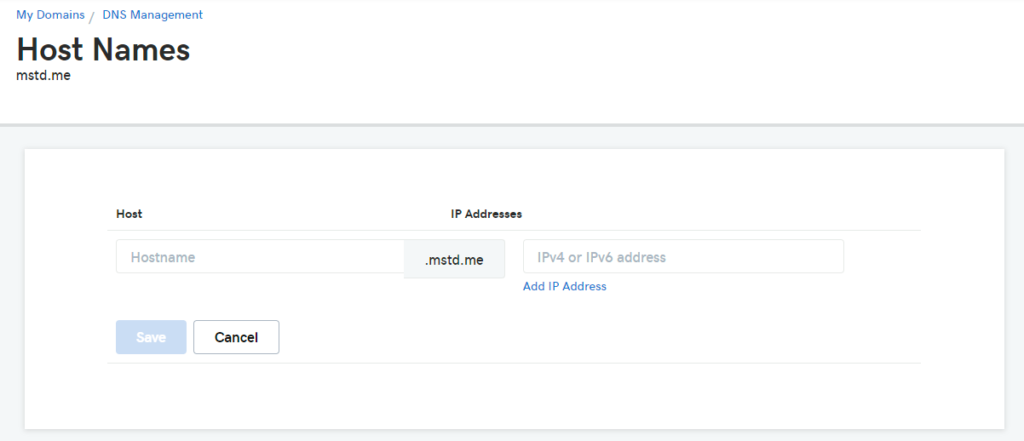
Once in Host Names click ADD, then in the Hostname field enter “ns1” and in the IP Address enter the IP of your server, in my case, it would be “139.162.37.147” then click save.
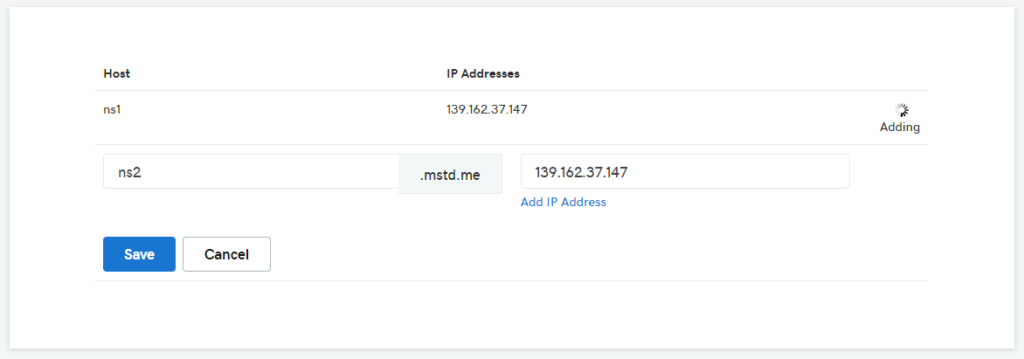
You must repeat the process and add another entry with the same IP Address but using the Hostname “ns2” instead. As usual, click save to continue.
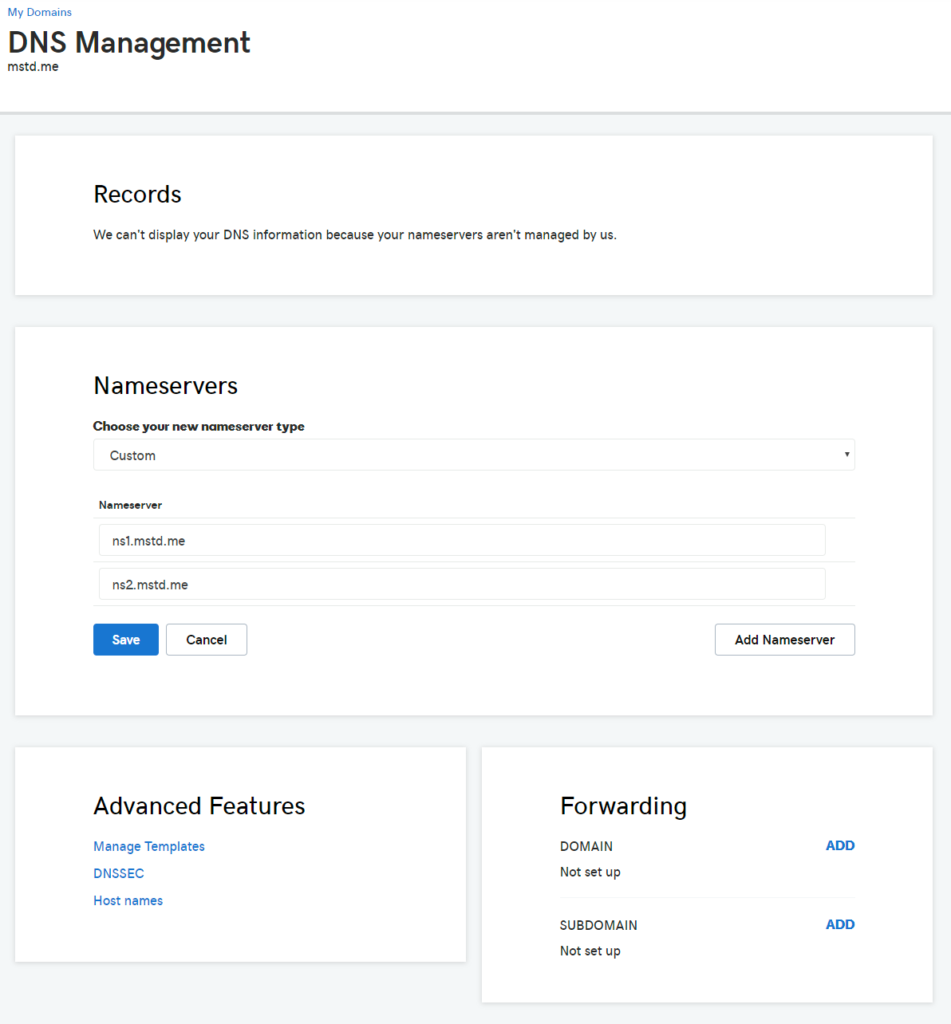
Now go back to the previous menu and change the DNS nameserver records and insert the nameservers you have just created into the appropriate fields, then click Save to continue.
Install VestaCP on Ubuntu 18.04:

SSH into your server and if this is the first time you will receive a prompt asking you to confirm the authenticity of the host, key in “yes” and press enter followed by the password you set when you created the machine.
Once you have logged in there are a few changes we need to make, first ensure the system is up-to date by running the following commands.
apt update && apt upgrade -y
Change server Hostname:
Next we must change the hostname of the server as this may become an issue later, so it is best to take care of it now. You may do so with the following commands;
nano /etc/hostname
Change the entry from “localhost” to the name of your domain, mine will be “mstd.me” then press “Ctrl + O” and then “Enter” to save followed by “Ctrl + X” to exit out of the file.
Now we must change the hosts file to reflect the changes we made;
nano /etc/hosts
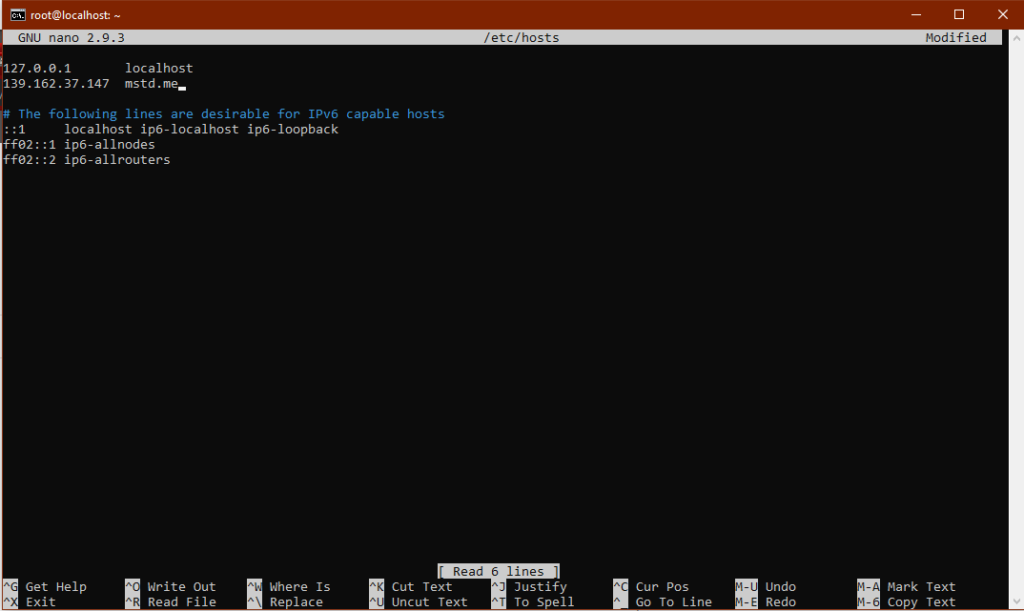
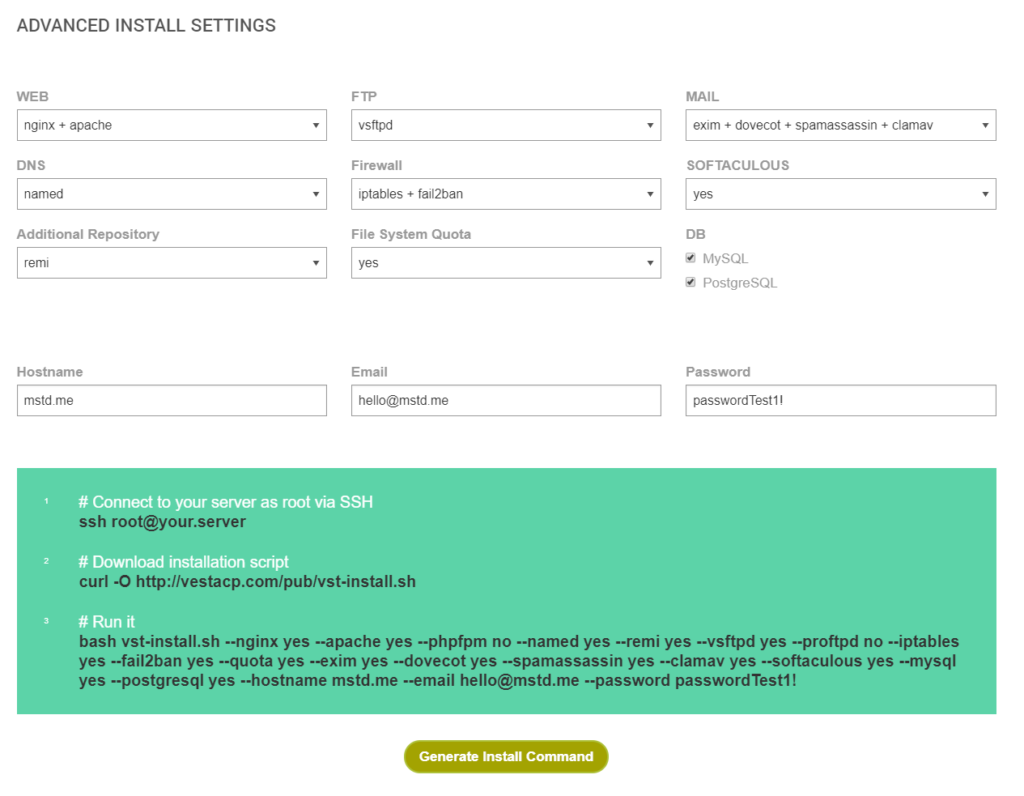
Be sure to key in a dummy password so as to avoid routing your password through the VestaCP config generator, you can always change it to your real password before you hit Enter on the terminal; The config above is what i have chosen for this tutorial. Key in your details as required. When you are finished hit “Generate Install Command” and copy the commands that have been generated.
Get download script:
First download the installation script;
curl -O http://vestacp.com/pub/vst-install.sh
Then copy the command that was generated for you; The command below is what was generated for me and yours should have your details instead of mine.
bash vst-install.sh --nginx yes --apache yes --phpfpm no --named yes --remi yes --vsftpd yes --proftpd no --iptables yes --fail2ban yes --quota yes --exim yes --dovecot yes --spamassassin yes --clamav yes --softaculous yes --mysql yes --postgresql yes --hostname mstd.me --email hello@mstd.me --password passwordTest1!
Be sure to key in a dummy password so as to avoid routing your password through the VestaCP config generator. You can always change it to your real password before you hit Enter on the terminal; The config above is what I have chosen for this tutorial. Key in your details as required. When you are finished hit “Generate Install Command” and copy the commands that have been generated.
First download the installation script;
curl -O http://vestacp.com/pub/vst-install.sh
Then copy the command that was generated for you; The command below is what was generated for me and yours should have your details instead of mine.
bash vst-install.sh --nginx yes --apache yes --phpfpm no --named yes --remi yes --vsftpd yes --proftpd no --iptables yes --fail2ban yes --quota yes --exim yes --dovecot yes --spamassassin yes --clamav yes --softaculous yes --mysql yes --postgresql yes --hostname mstd.me --email hello@mstd.me --password passwordTest1!
Start VestaCP installation process:
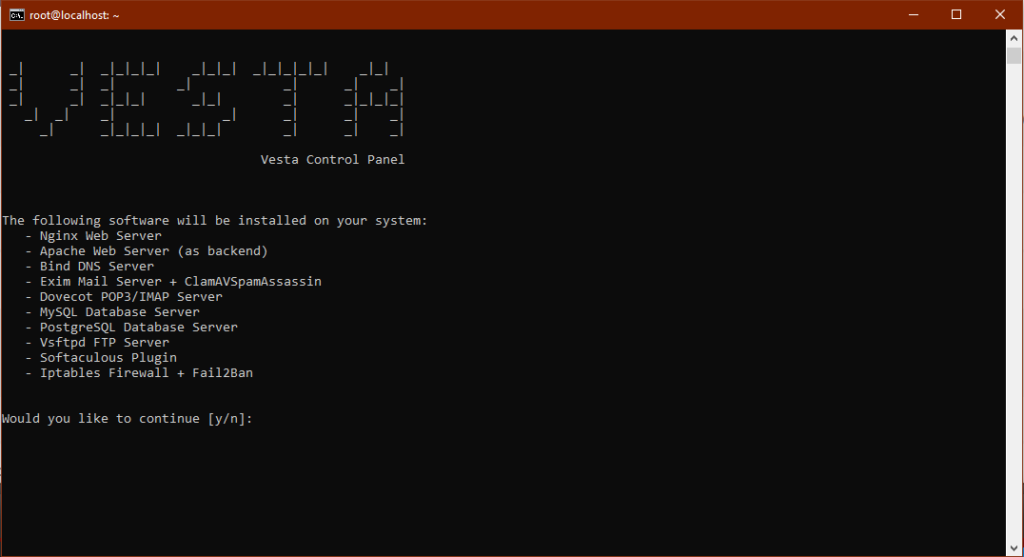
Now you are ready to start to install VestaCP on Ubuntu 18.04. Once you key in the command you will be greeted with a summary of what will be installed; key in “y” then press Enter to continue; The installation should take about fifteen minutes to complete so take a break, get up from your chair, grab a drink, stretch your legs, call your mom or do whatever you want and come back in a while.
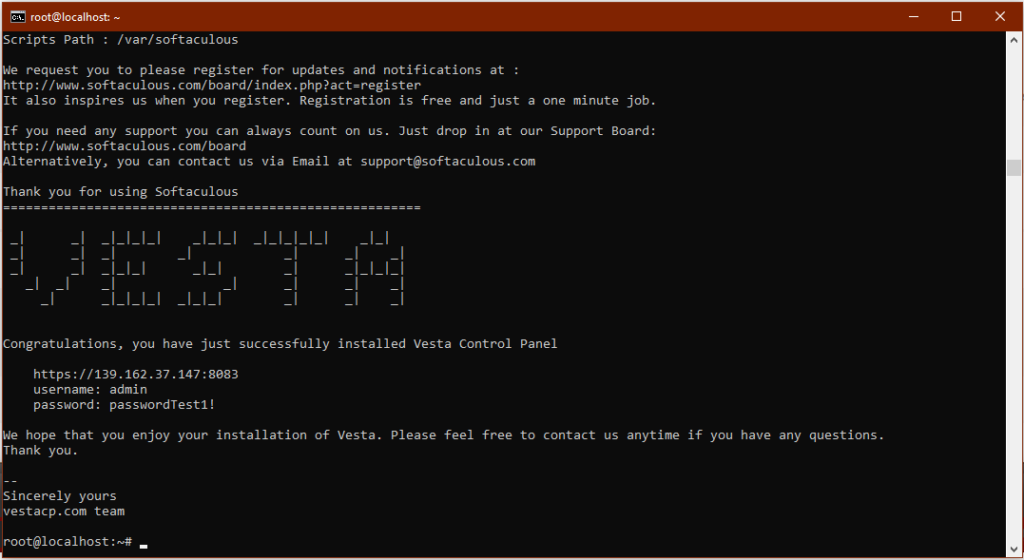
When the installation is complete you will be met with a congratulatory message from VestaCP. Informing you that it has finished installing and that you may log in at the address listed above with the username and password provided.
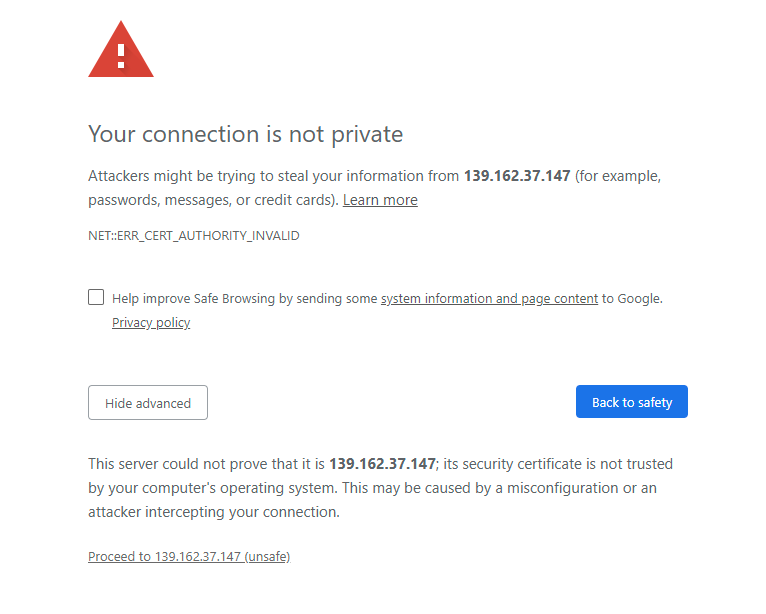
Since you have not configured the SSL certificate your browser will warn you about the Certificate Authority as VestaCP will be using a self-signed certificate for now; you are safe to proceed.
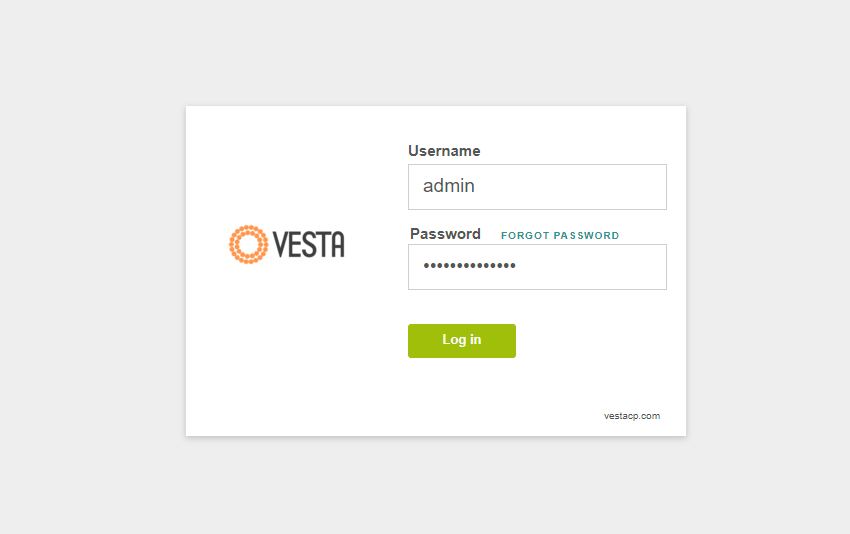
Enter your Username and Password to log in; we will now configure the control panel.
Configure VestaCP:
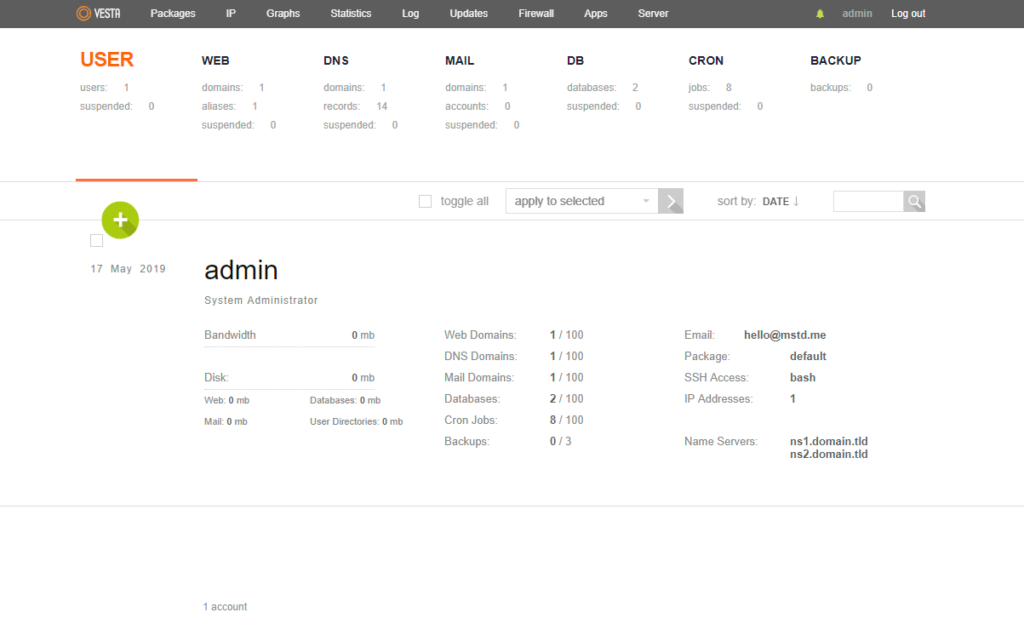
You are now within the administration console of VestaCP. There are a few changes that we need to make, to get VestaCP to work properly. We must change the nameserver entries to match the nameservers we created through the domain registrars website.
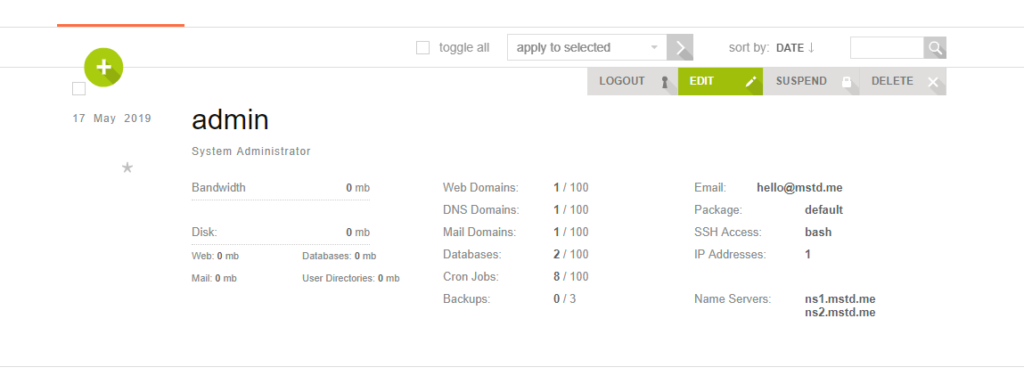
Hover your mouse over the admin user and click on edit;
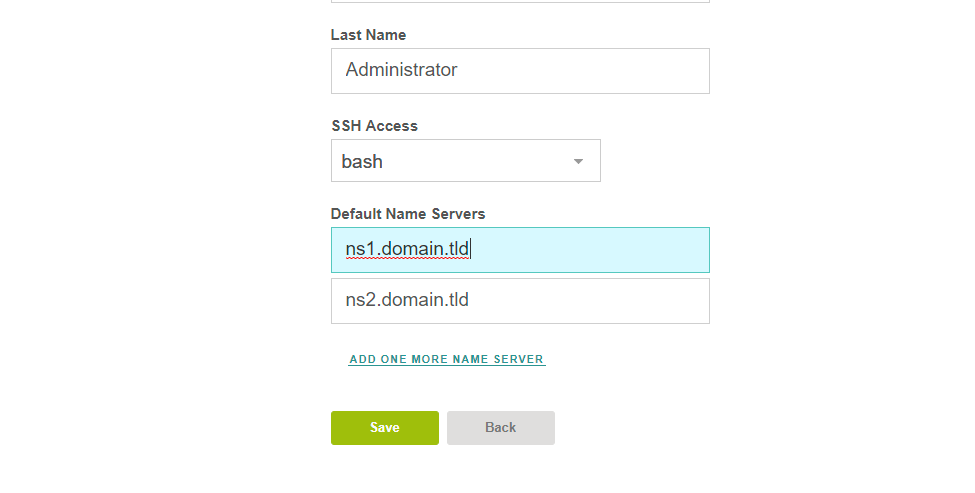
Change the Default parameters into the nameservers you created earlier, mine was ns1.mstd.me and ns2.mstd.me; then save your changes.
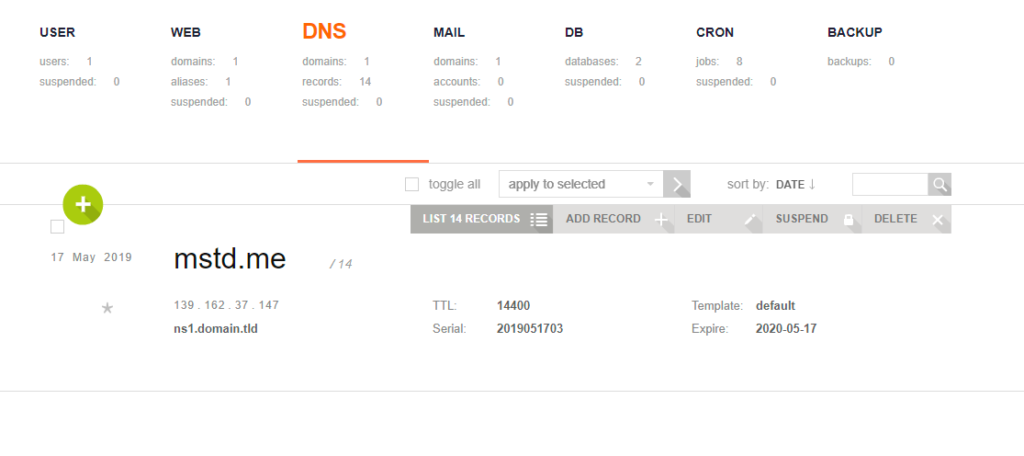
Now move over to the DNS tab and while hovering over your domain name, click on “edit”;
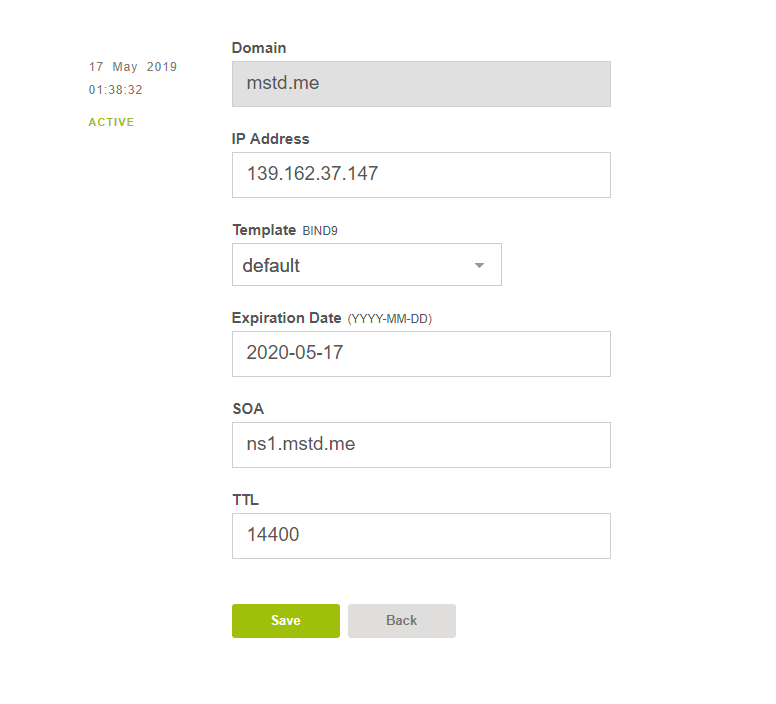
Here you must change the “Template” to “child-ns”. Change the SOA to your first nameserver which in my case would be “ns1.mstd.me”; and then save your changes. Go back to the DNS tab;
Hover once again over your domain but this time click on “List 14 Records”;
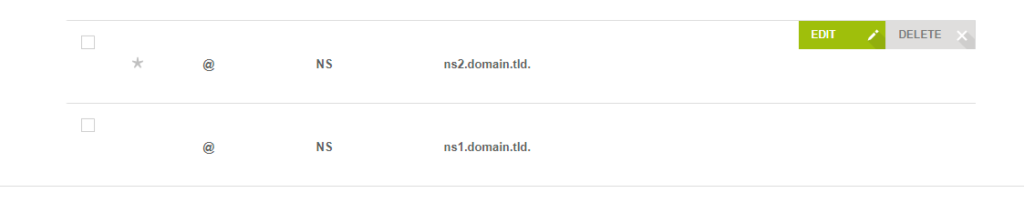
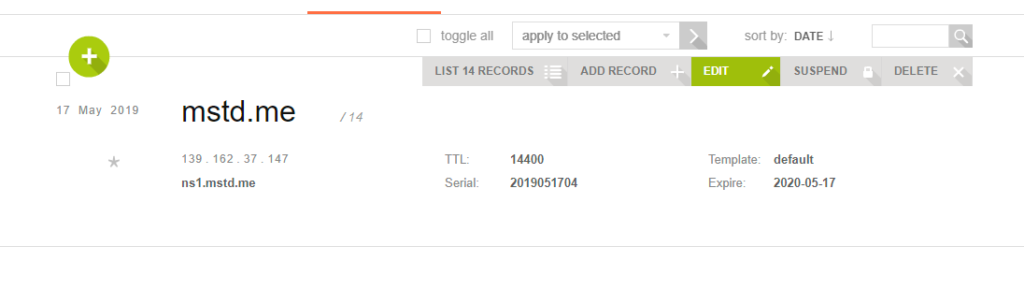
Scroll all the way down and make sure your NS records have changed to reflect your nameservers; if not do change them now.
Change Nameservers of Web Hosting packages:
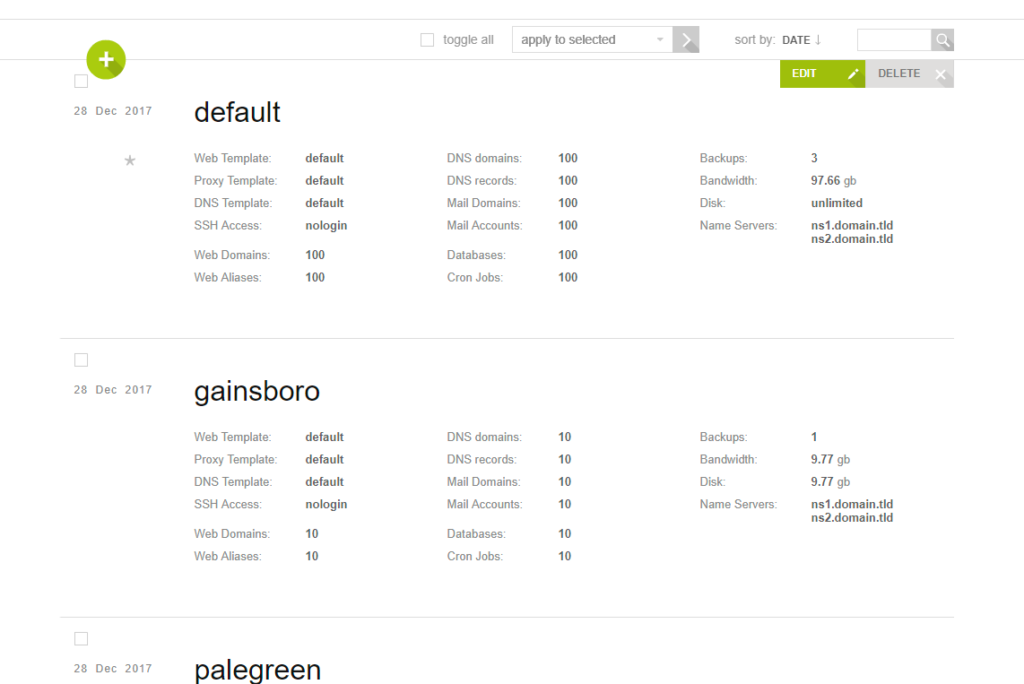
On the right side of the top bar next to the VestaCP logo is a tab called “Packages”. Click on that and edit all the tabs shown on the picture above. You can do so by hovering over the option and clicking “edit”;
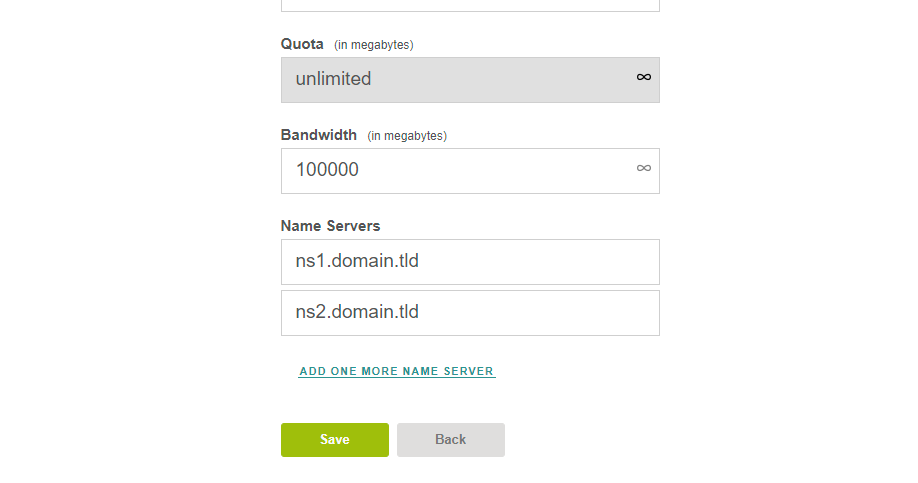
Scroll down to the Name Server options and make the necessary changes;

Now go to the domain tab and edit your domain;
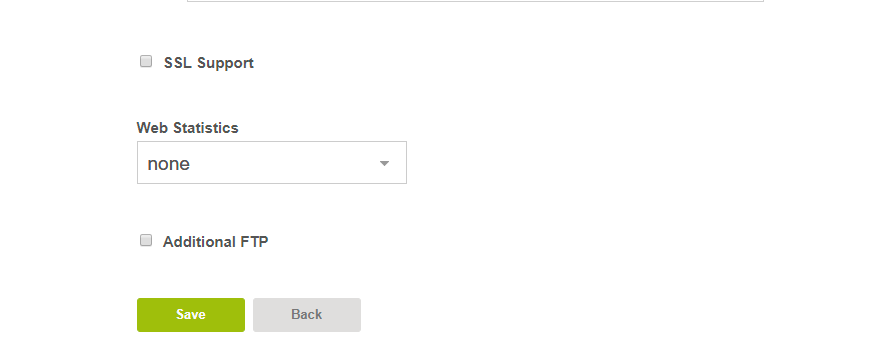
Check the box labeled “SSL support”, then check the box labeled “Lets Encrypt Support”; then click save, this will generate a SSL certificate for your domain.
Note that you may have to wait for up to 72 hours for your DNS records to fully propagate from your domain registrar. Don’t worry if they haven’t, just go back into the domain settings on your VestaCP admin page and repeat the SSL process shown above. Once they have fully propagated move on to the next step;
Create SSL certificate for VestaCP:
Now we will create the SSL certificate for the control panel itself. To do this we need to go back to the SSH terminal and key in the code below; Do change the values to reflect your own domain.
source /etc/profile PATH=$PATH:/usr/local/vesta/bin && export PATH v-add-letsencrypt-domain 'admin' mstd.me '' 'yes'v-update-host-certificate admin mstd.me
Now you can access the admin page from your domain name, just be sure to append the port number to it. For me it is as follows;
Switch out your domain with mine above and you should see no errors by your browser as the SSL certificate has been installed.
You have now learned how to Install VestaCP on Ubuntu 18.04.


