


Using the terminal to accomplish every task you want to complete can be time-consuming and a tab bit complicated sometimes. Control panels help you do this in a streamlined and simple way, by using a graphical interface. Using VestaCP, you can add mail accounts, databases, Cron jobs, and a whole lot more with just a few clicks. In this post, we will learn how to add a Mail Account using VestaCP.
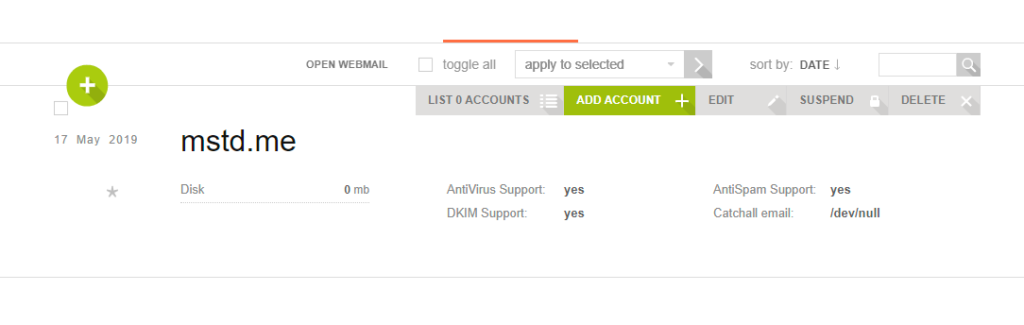
Move to the “Mail” tab then hover over the domain you would like to create a mail account for and click on “Add Account”;
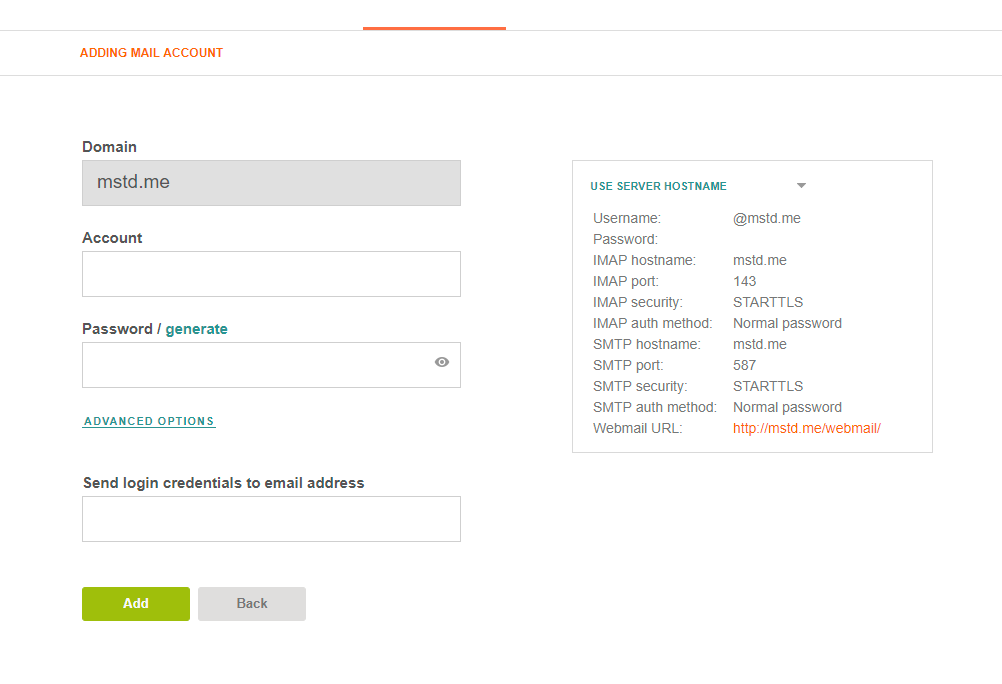
Then fill out the relevant details like the account name and set a password as well as if you would like to send the login details to any email address for reference later. By clicking the advance options, you can select an email address to forward to. You may also choose how much storage you would like to assign as well as any aliases you would like to link to the email account you are about to create.
Note: I highly recommend you to use the generate password feature or use a strong password as this will make it harder for hackers to brute force your password and gain access to your account.
You have now learned how to add a Mail Account using VestaCP. If you haven’t installed VestaCP yet you can do so with our tutorial here.


