


Using the terminal to accomplish every task you want to complete can be time-consuming and a tab bit complicated sometimes. Control panels help you do this in a streamlined and simple way, by using a graphical interface. Using VestaCP, you can add mail accounts, databases, Cron jobs, and a whole lot more with just a few clicks. Cron jobs help automize certain commands that need to run regularly, this ensures everything runs smoothly. Learn how to setup a CRON job using VestaCP now.

Move to the “CRON” tab then mouse over the plus symbol and click on “Add Cron Job”;
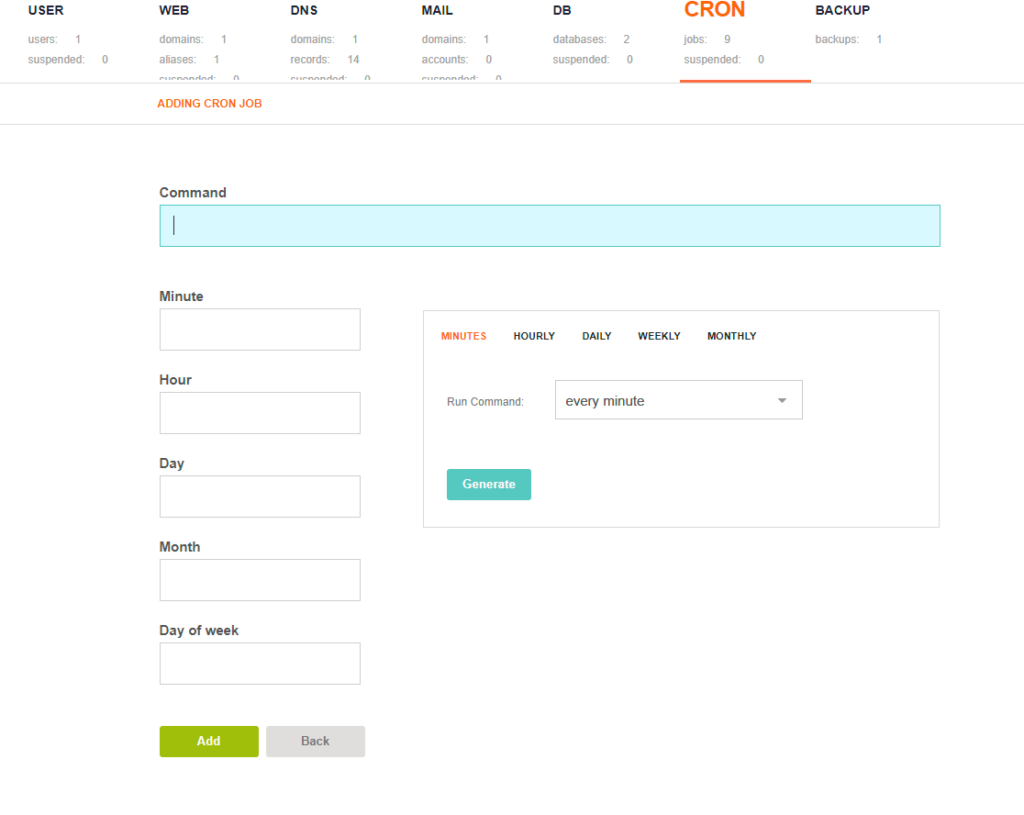
Enter the command you would like to execute and make sure to include the necessary privileges such as sudo if your command requires it. Use the frequency generator on the right side of the options to set how often you would like the command to execute. Finally, click Generate to confirm the frequency and then click Add to finish adding the Cron job.
Tip: Before adding a cron job be sure to test it out first to ensure it works.
You have now learned how to setup a CRON job using VestaCP. If you haven’t installed VestaCP yet you can do so with our tutorial here.


