A brief intro into Linux;
Linux is an amazing operating system that I wholeheartedly recommend to anyone who isn’t tied down to the windows operating system. Linux distros have come a long way in recent years and can do almost everything that ‘Windows’ can and has many advantages over windows. Today we will go through how to install Linux Mint 20 in a few easy steps.
Unless you use very specific Windows-exclusive software like the Adobe suite of programs or you play video games which only run on Windows for now; as Steam has been working very hard over the last year to make video games run with one click solutions on Linux and they have made spectacular progress.
Today we explore how to install and run one of the most popular Linux operating systems out there. You may have heard of it, in fact, it is currently ranking top 5 in Distrowatch. Linux Mint is a great example of a modern and easy to use Linux operating system, which is perfect if you are beginning to explore the wonderful world of Linux.
Let’s get started; Install Ubuntu 20.10:
Step 1: Create a USB installer

First thing is first, you are going to need to boot into a USB installer to start the installation process. This involves two parts; first, download a copy of Linux Mint 20 from their Official Website.
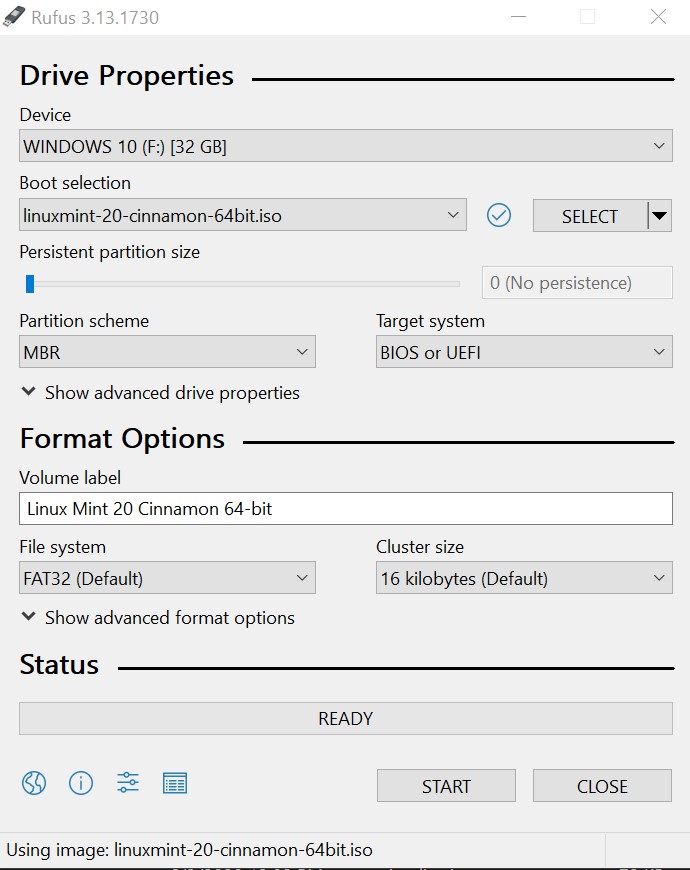
Then download Rufus which is the tool you will need to create your USB installer with a few simple clicks. Click here to download version 3.12 of Rufus or go to Rufus.ie and download the latest version.
Step 2: Boot to the USB drive
Make sure you recently created USB installer is plugged into the computer you would like to install Linux Mint 20 into then power it on and as it boots continuously tap either the F10 or F12 (depends on your computer) function key on your keyboard to enter the boot menu then choose your USB drive to boot into.
Step 3: Start the installation
The Ubuntu USB installer like many Linux distro’s come with a version of the operating system already installed on the USB drive called “live USB”. This gives you the chance to try it out but do keep in mind that any changes you make will not be saved and the drive will reset to factory defaults when you reboot.
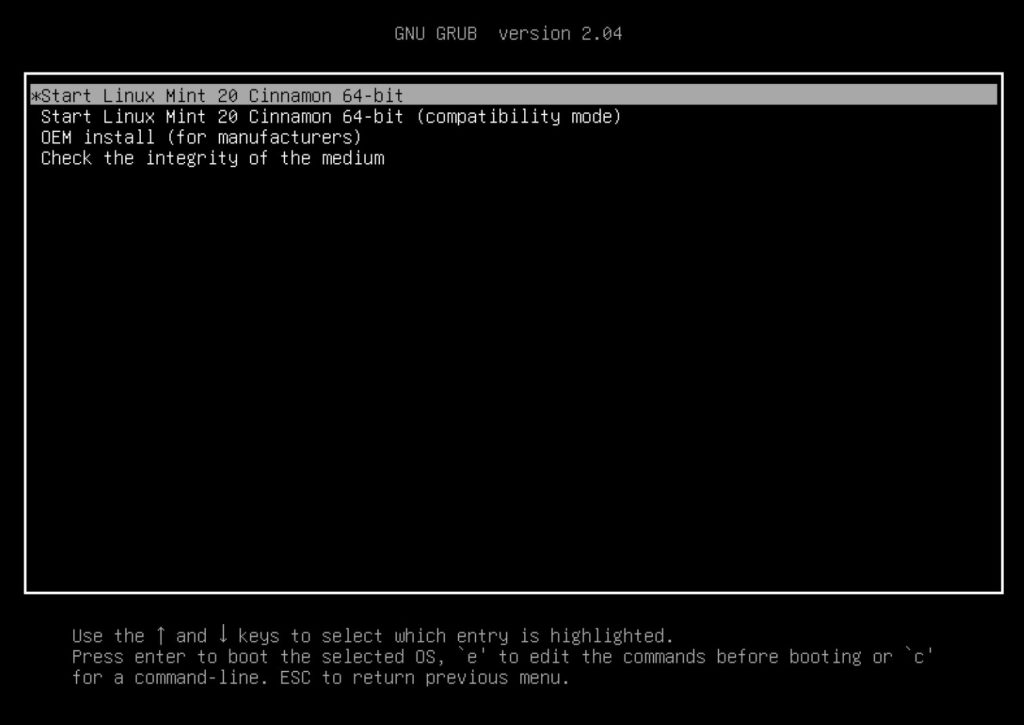
Select “Start Linux Mint 20 Cinnamon 64-bit” to get started;
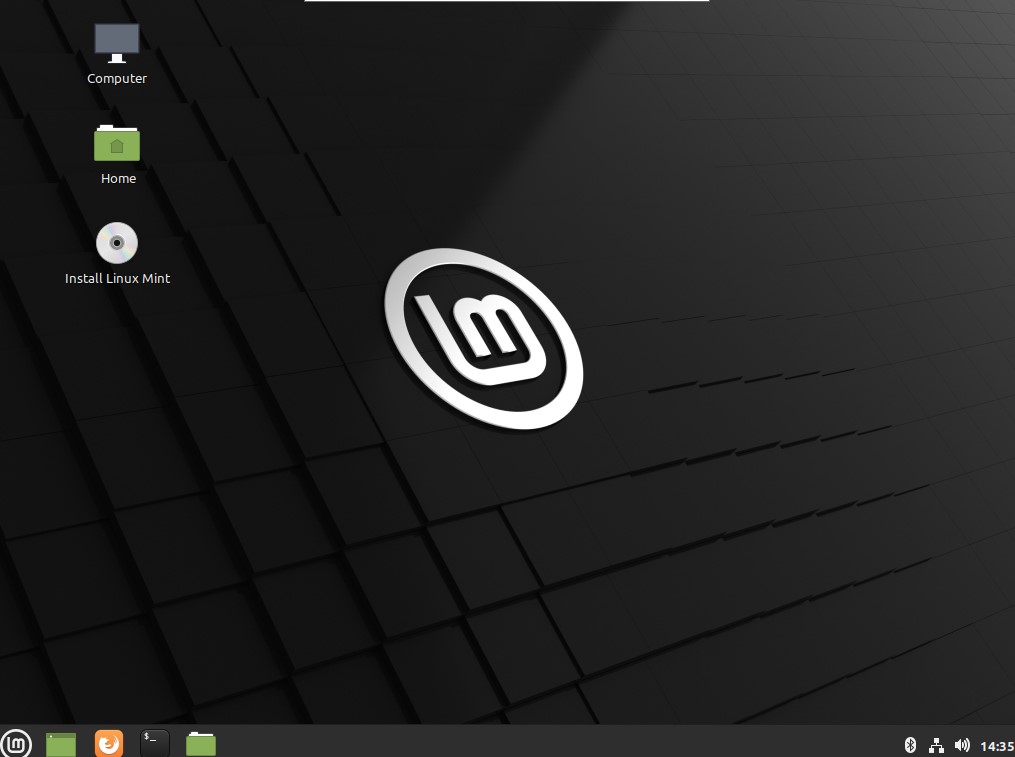
Double click on the disk icon on the upper left of the desktop, to launch the Linux Mint installer.
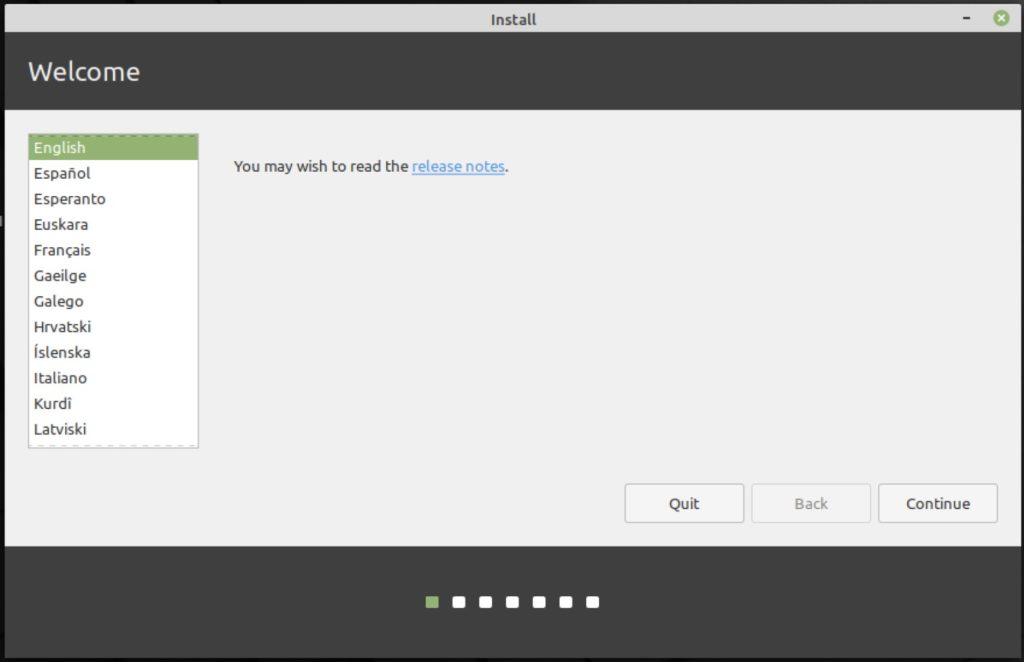
Pick your desired language then click “Continue”;
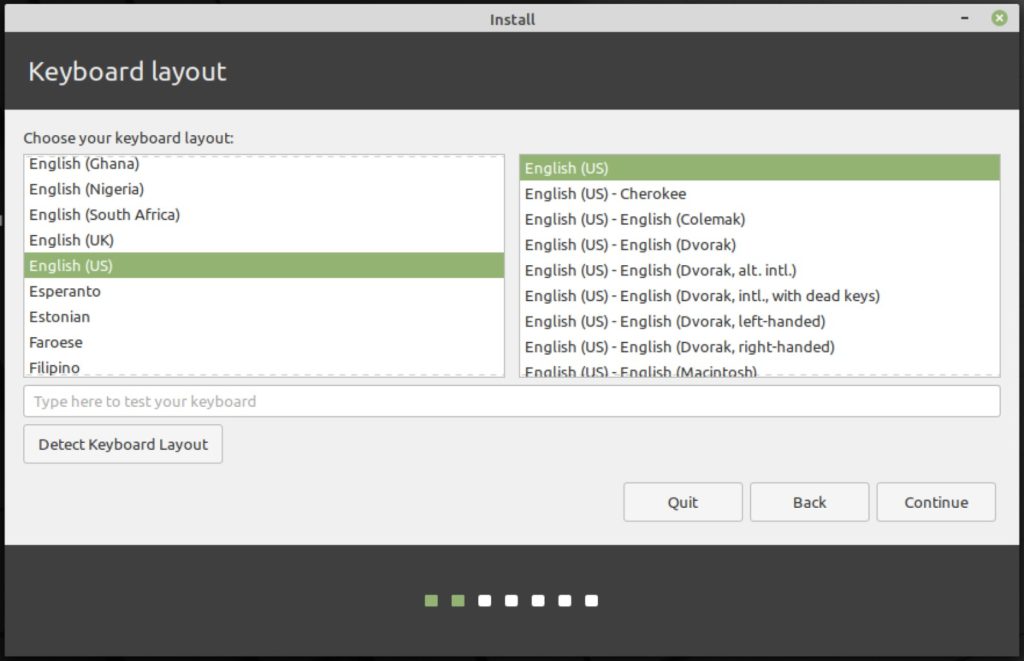
Next, choose a keyboard layout and continue;
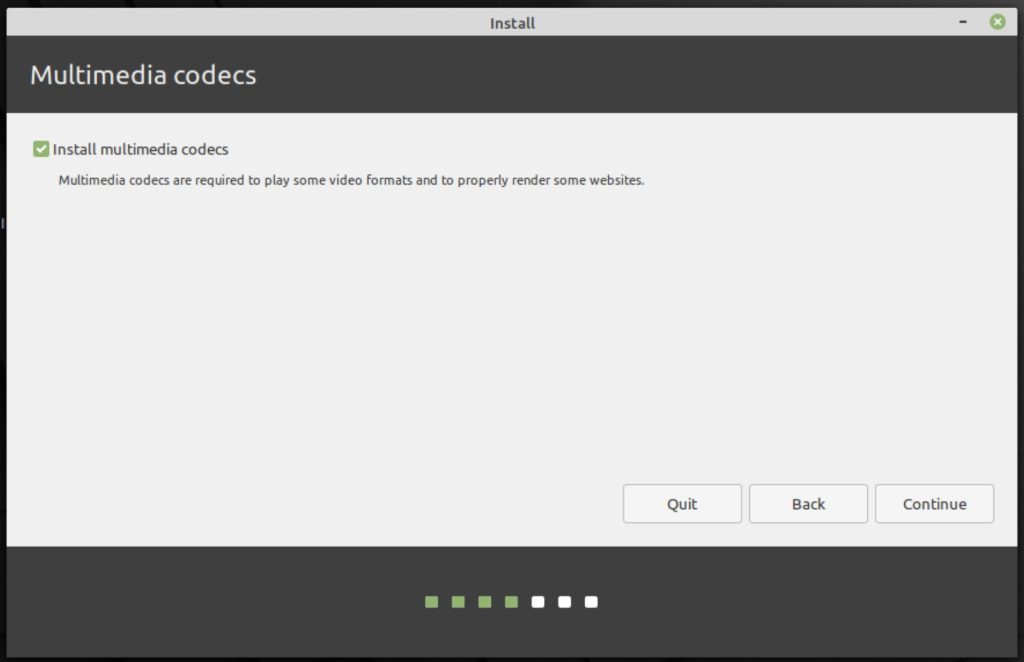
Check the box to install multimedia codecs. Unless you have a specific reason not to, you probably want some media codecs to play audio and videos.
Step 4: Partition the Drive
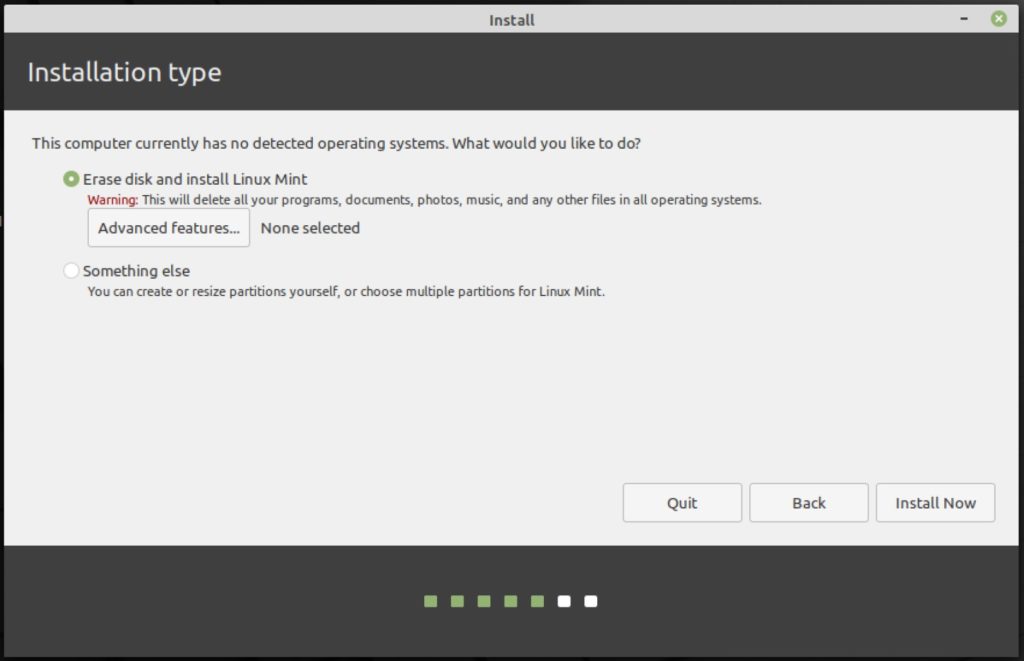
Here you may choose partition options and you may choose to enable and configure whole disk encryption or LVM (logical volume management) by clicking on “Advance features”. You can also customize your partitions to your own liking by clicking “Something else”. For most people, the default options are probably going to be just fine. Click install now then continue to confirm changes.
Step 5: Finalize the Installation
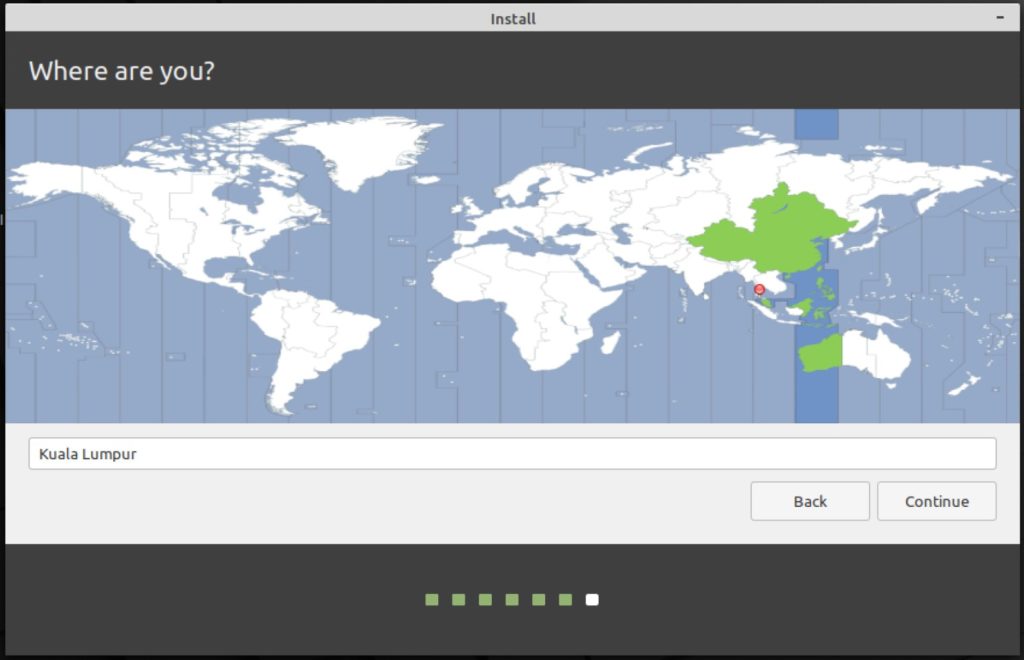
Select your local timezone and continue;
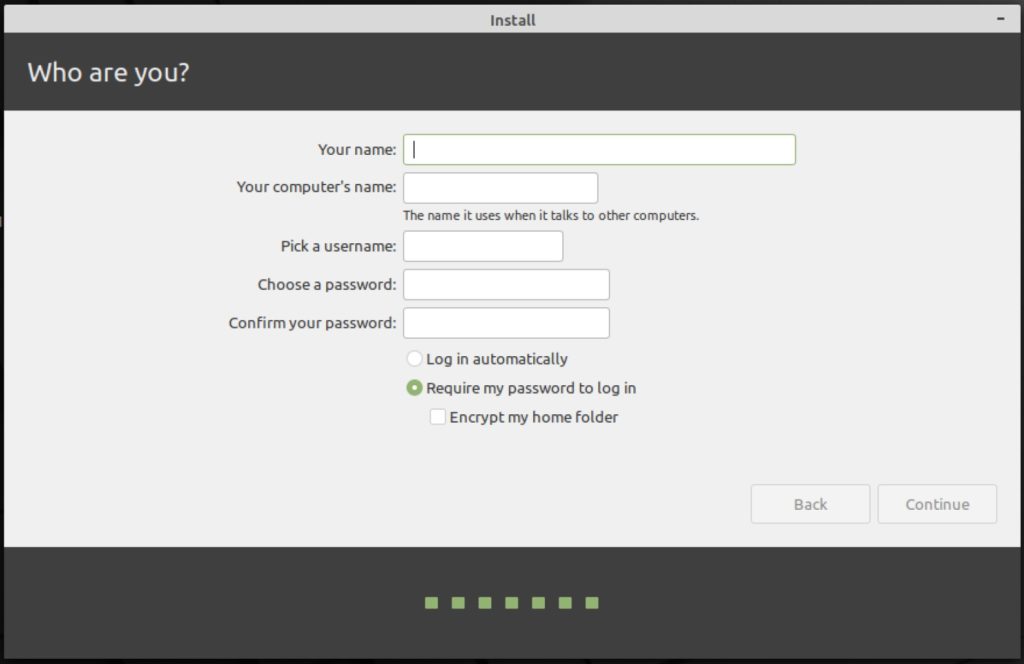
Insert your name, computer name, and user name for your computer. Don’t forget to set a password then continue the installation.
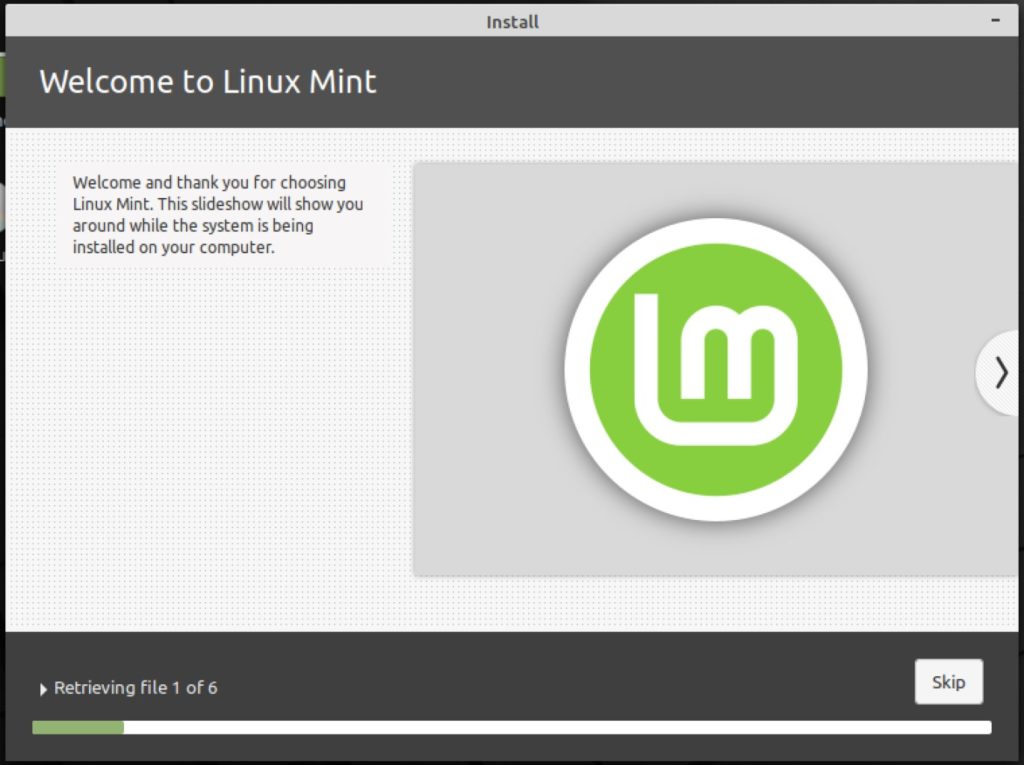
Now sit back grab a drink from the kitchen. Before you know it, Ubuntu will have finished being installed. When it’s done click on the button to restart the computer to complete the installation. Then boot into your shiny new Ubuntu operating system. You can click on “Continue Testing” if you would like to explore the Linux Mint live USB.

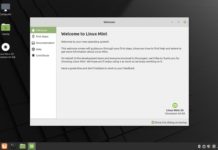
Welcome to your Desktop;
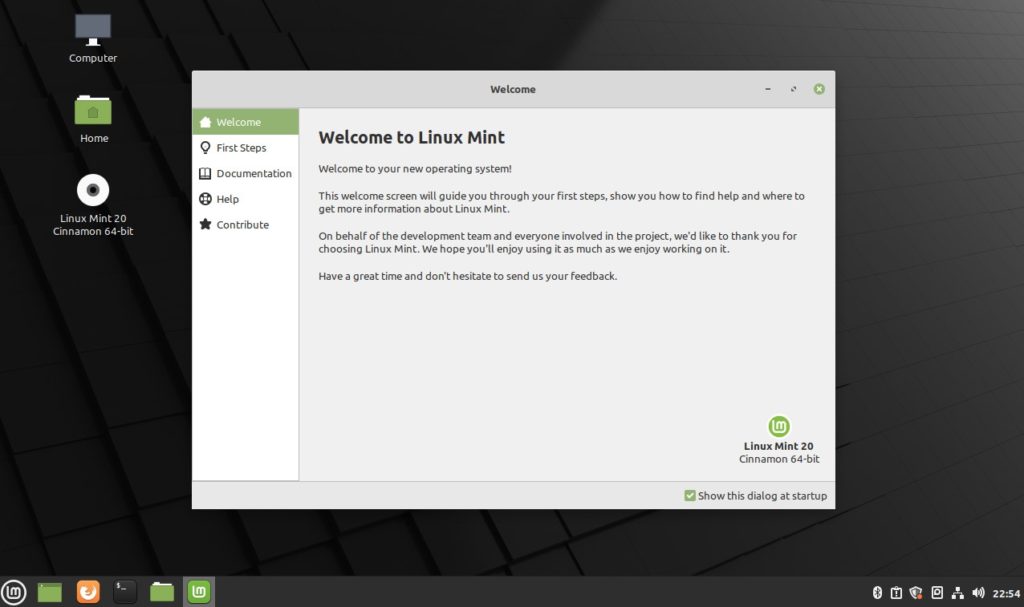
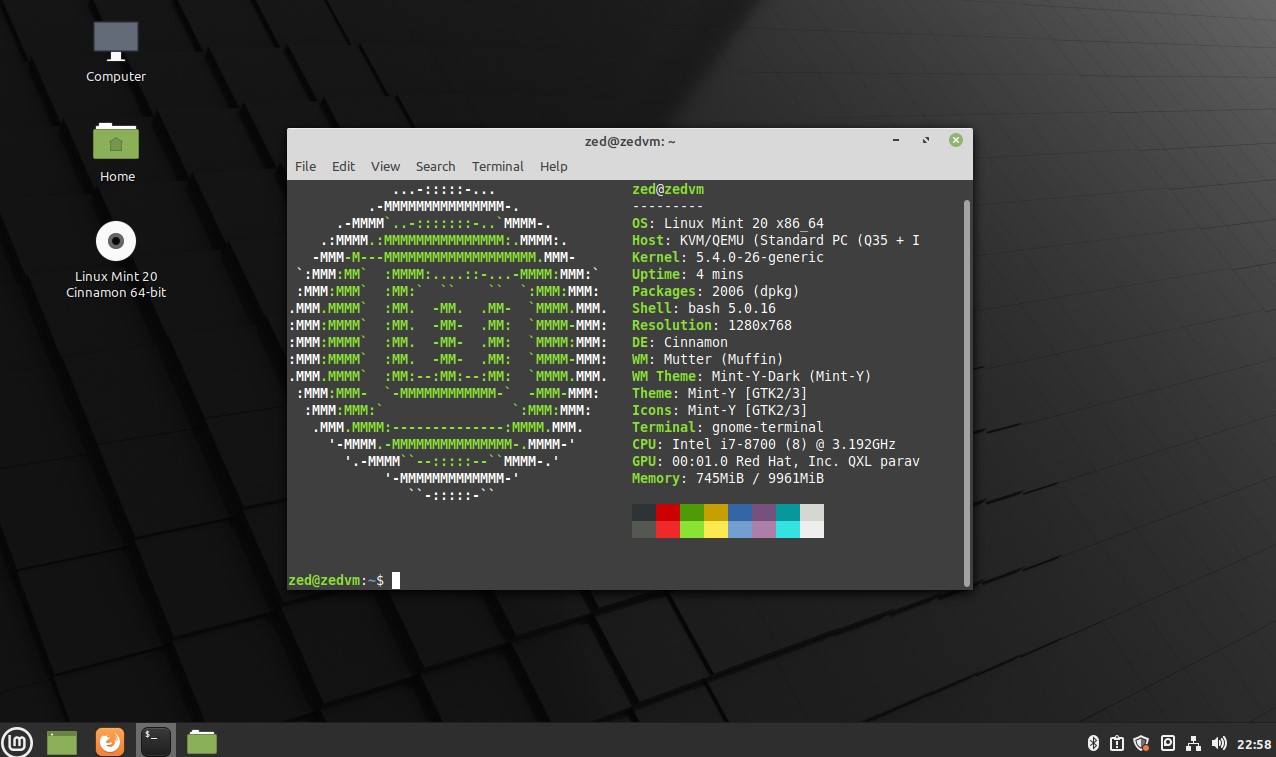
Now that you have installed Linux Mint 20 you can boot into your fresh new Linux Mint desktop. You will be greeted with some options that are pretty self-explanatory. Have fun exploring your beautiful operating system.
