

A brief intro into Linux;
Linux is an amazing operating system that I wholeheartedly recommend to anyone who isn’t tied down to the windows operating system. Linux distros have come a long way in recent years and can do almost everything that ‘Windows’ can and has many advantages over windows. Today we will learn How to install MX Linux 19.3.
Unless you use very specific Windows-exclusive software like the Adobe suite of programs or you play video games which only run on Windows for now; as Steam has been working very hard over the last year to make video games run with one click solutions on Linux and they have made spectacular progress.
Today we explore how to install and run one of the most popular Linux operating systems out there. You may have heard of it, in fact, many Linux distros have been made from a modified version of it. MX Linux is a great example of a modern and easy to use Linux operating system, which is perfect if you are beginning to explore the wonderful world of Linux.
A little background on MX Linux before we start. This distro is a cooperative venture between two Linux communities. According to them, it is “designed to combine elegant and efficient desktops with high stability and solid performance“. It comes default with the XFCE desktop environment. However, as per usual, there are other desktop environments available.
Let’s get started with how to install MX Linux 19.3;
Step 1: Create a USB installer

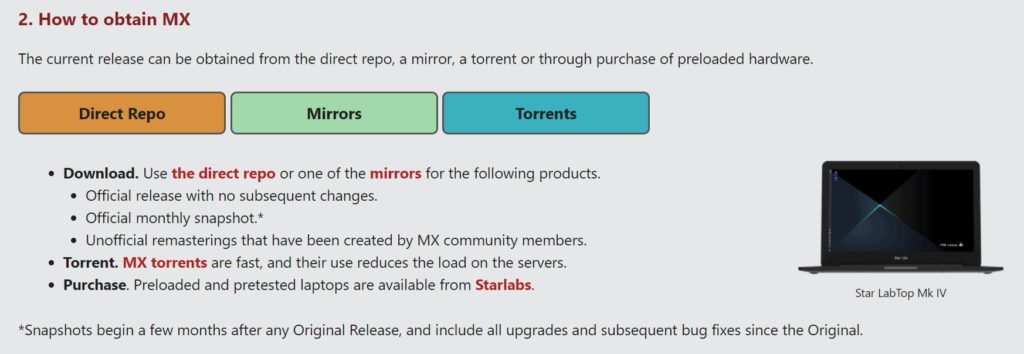
First thing is first, you are going to need to boot into a USB installer to start the installation process. This involves two parts; first, download a copy of MX Linux 19.3 from their Official Website. There you can choose the source you would like to download, either directly, using mirrors, or via torrents.

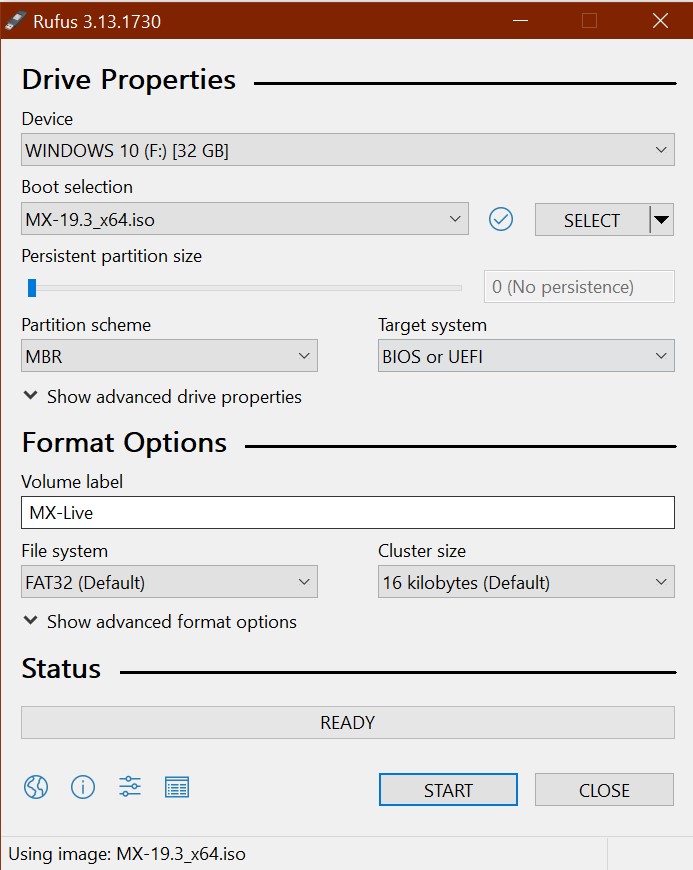
Then download Rufus which is the tool you will need to create your USB installer with a few simple clicks. Click here to download version 3.13 of Rufus or go to Rufus.ie and download the latest version.
Step 2: Boot to the USB drive
Make sure your recently created USB installer is plugged into the computer you would like to install MX Linux into then power it on and as it boots continuously tap either the F10 or F12 (depends on your computer) function key on your keyboard to enter the boot menu then choose your USB drive to boot into.
Step 3: Start the installation
The MX Linux USB installer like many Linux distro’s come with a version of the operating system already installed on the USB drive called “live USB”. This gives you the chance to try it out but, do keep in mind that any changes you make will not be saved and the drive will reset to factory defaults when you reboot.

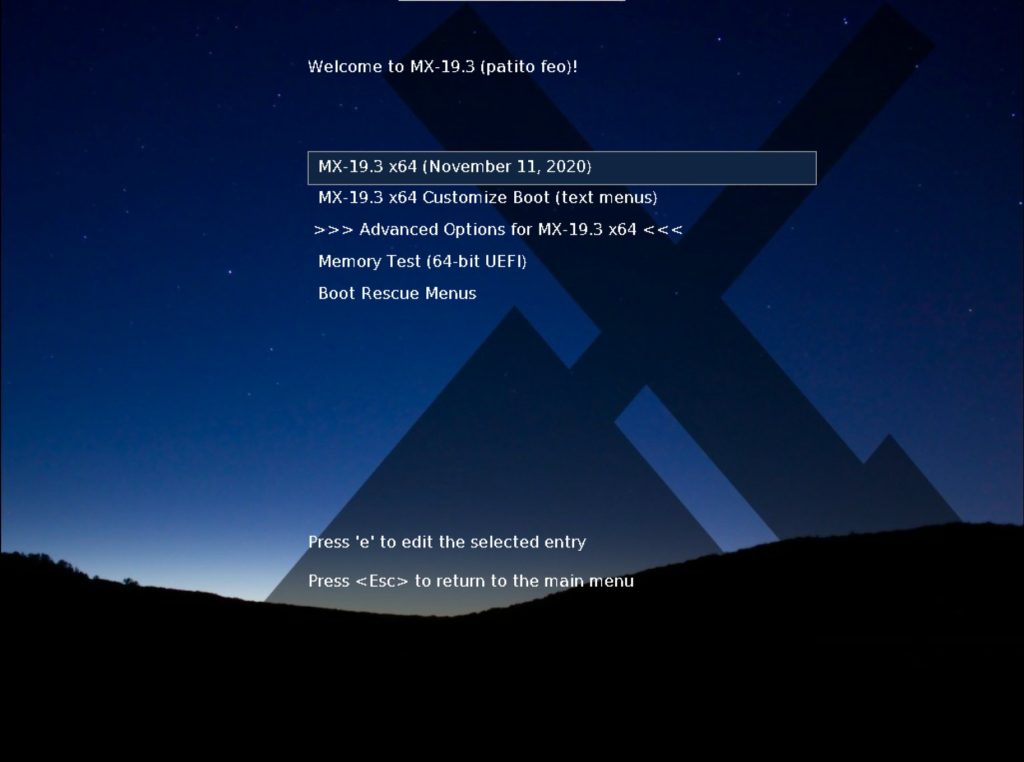
Move down to “MX-19.3 x64” to get started;


Close the welcome prompt. Then double click on the “Installer” icon to get started;

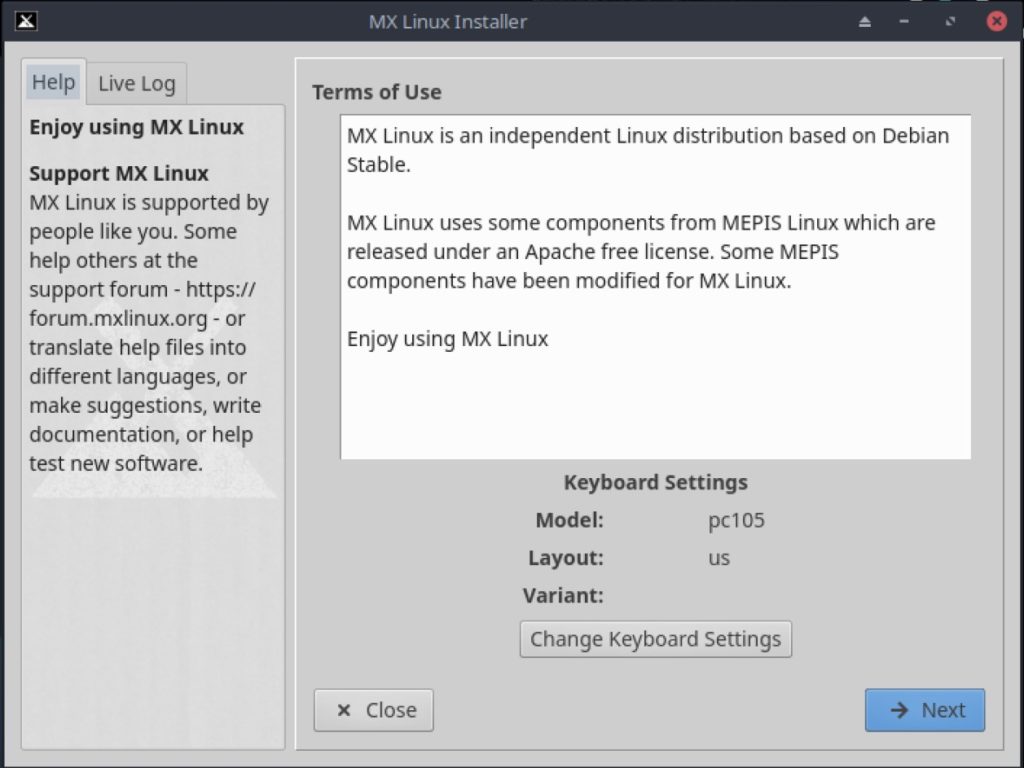
Click on “Next” to move to the next step; Note: If you would like to change your keyboard settings you can do so by clicking “Change Keyboard Settings”.
Step 4: Partition the Drive

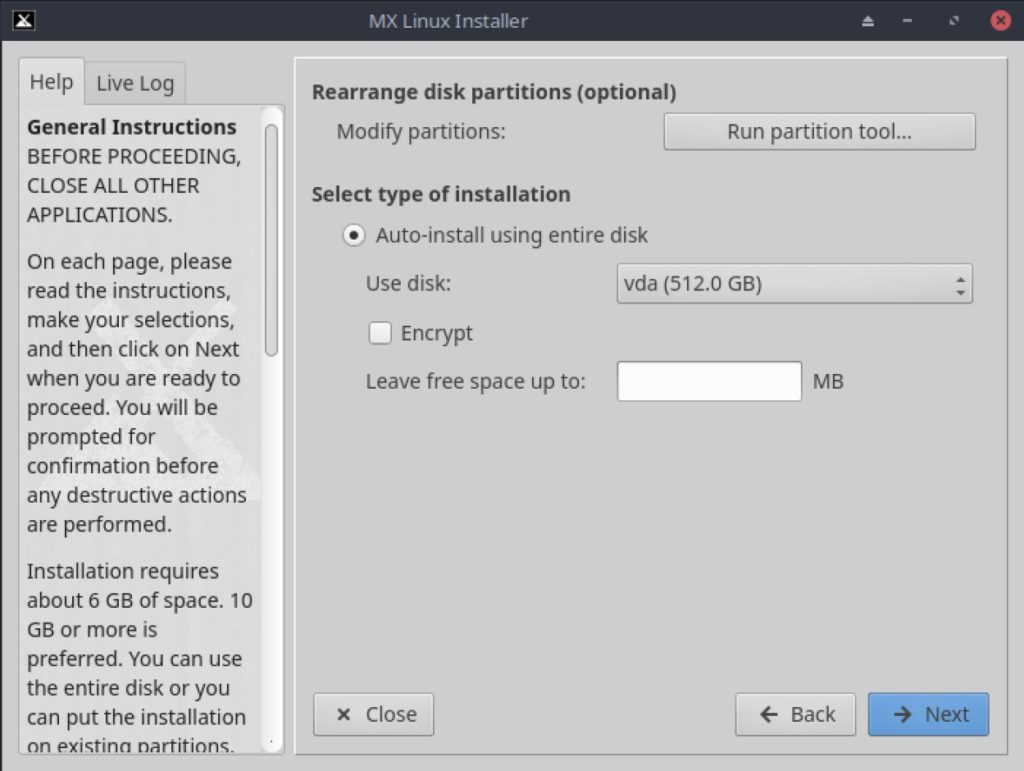
Here you may choose partition options and you may choose to enable and configure whole disk encryption or customize your partitions to your own liking. For most people, the default options are probably going to be just fine. Once satisfied with the options click “Next” to continue.

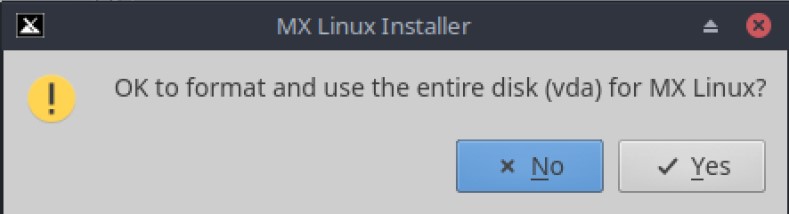
Then click “Yes” to confirm the options you have chosen.
Step 5: Choose some Options
The installation has now started in the background. That being said, there are still some options left for you to take care of.
Select Boot Method
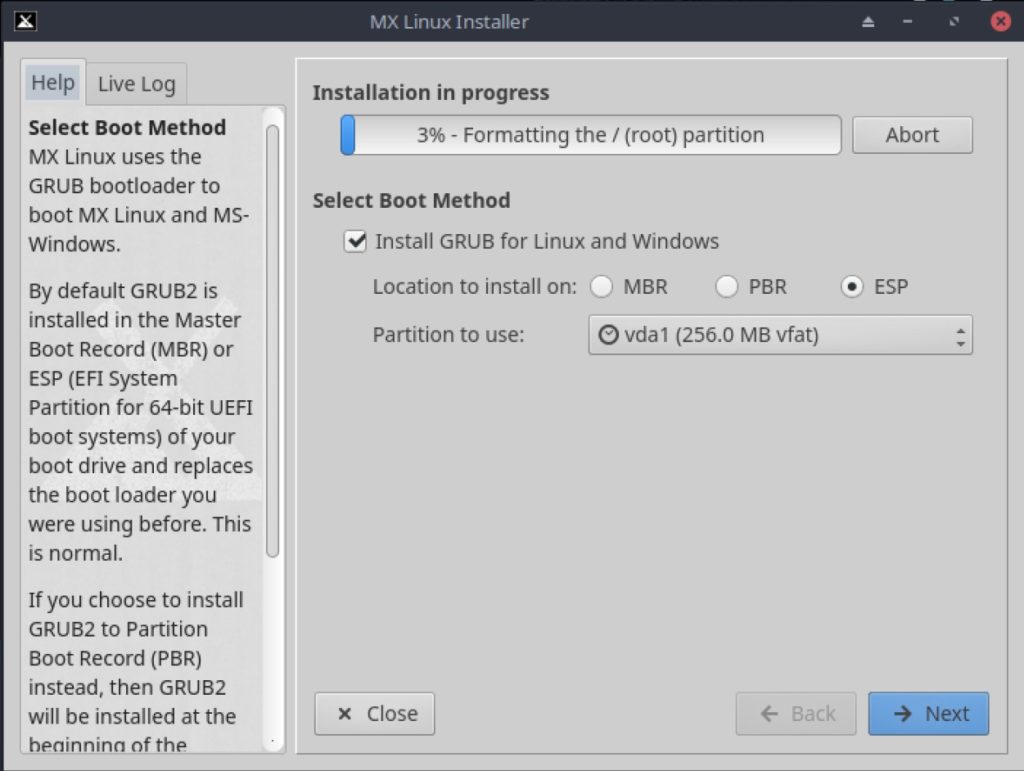
Choose the method you would like to boot with. Unless there is a specific reason, the default option will do just fine.
Choose Computer Network Names
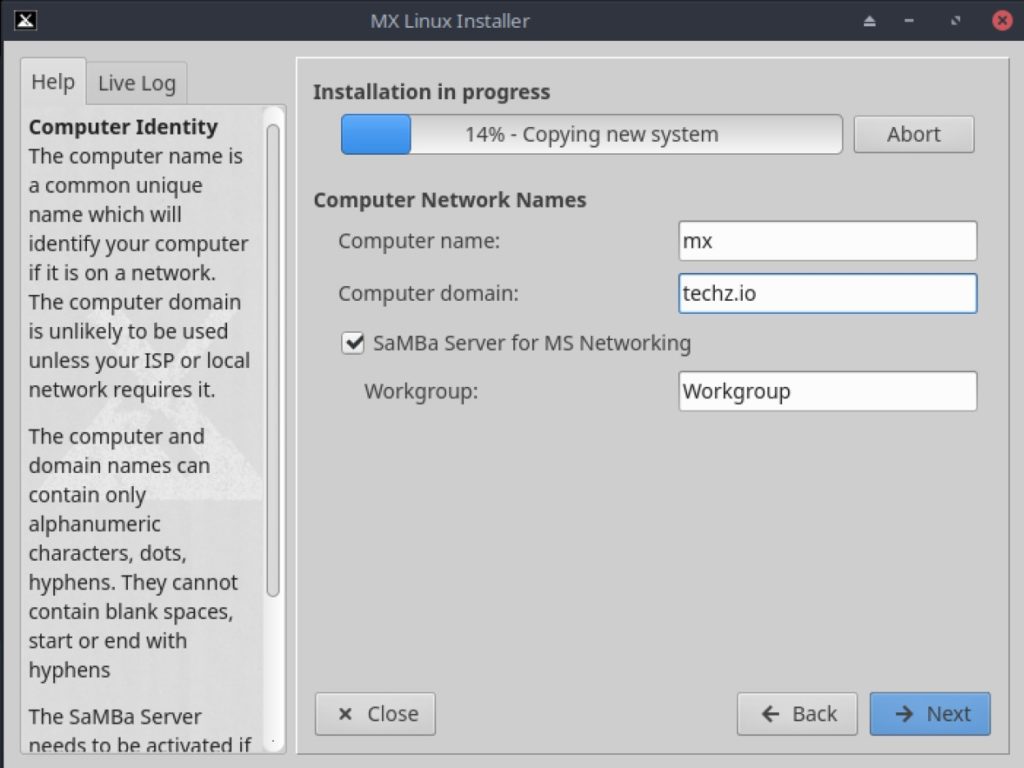
Now you can choose a name for your computer. If you have a domain name for your computer you can input it here. There is also an option to change the default samba workgroup as well.
Localization Options


In this step, you can configure the locale and timezone for your system. Once you’re done, click “Next” to continue.
User Accounts & Passwords
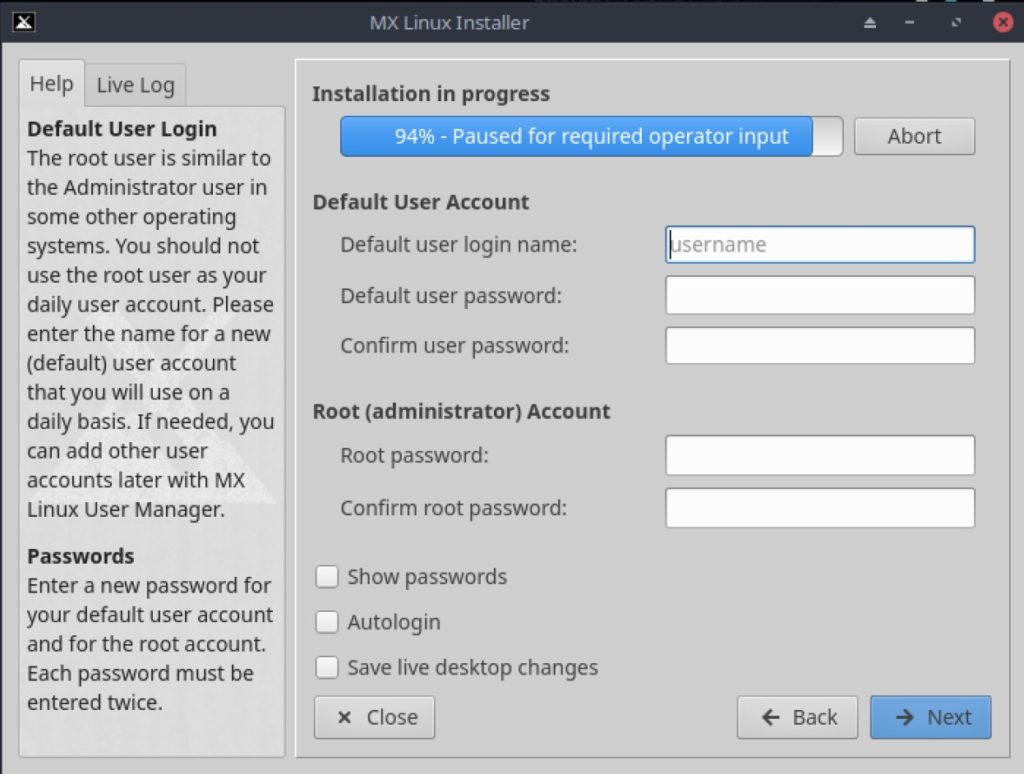
Moving forward we must create and set the user passwords for both the default and root user. You can configure the system to Autologin now if you want. Click “Next” to continue.
Step 6: Finalize the Installation


If the background installation has completed before you finish setting all the options above, it will pause and wait for you to finish. Once you are done, the installer will continue with installing GRUB.

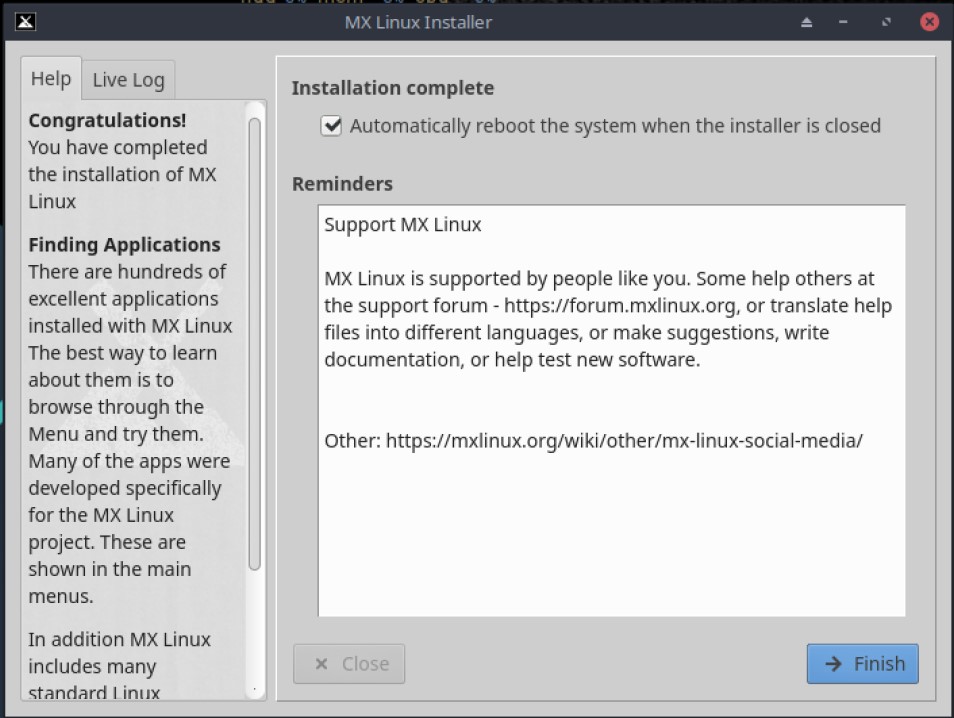
After GRUB has been installed you have the option to “Automatically reboot the system” upon exiting the installer. Your installation has completed. Click on “Finish” to exit the installer, and reboot your system.
Welcome to MX Linux 19.3


Congratulations, and welcome to your new MX Linux 19.3 installation. There are a few links on the welcome prompt if you would like to explore. If you are done now, feel free to close the prompt.
Welcome to your Desktop;

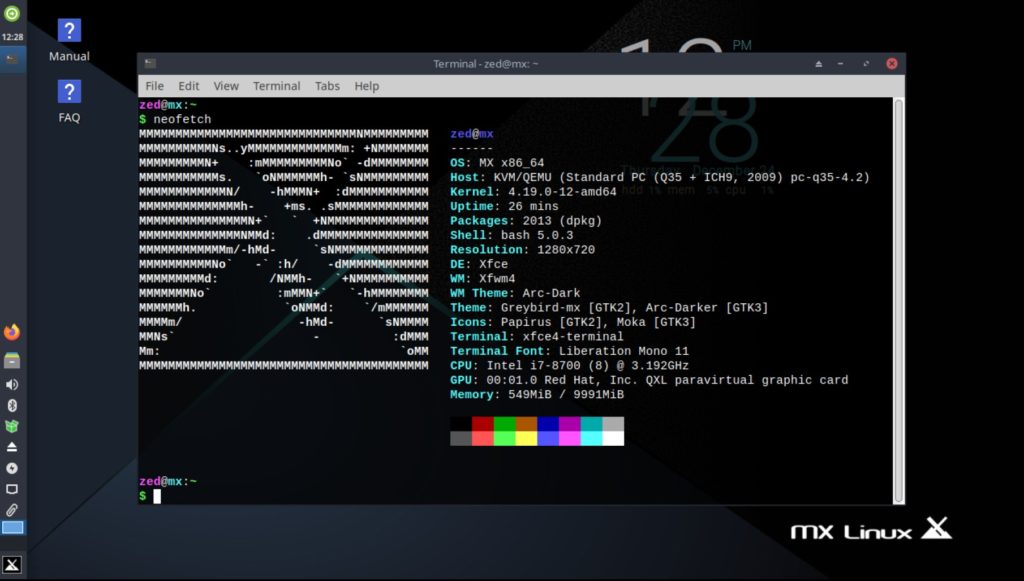
You have completed the installation and initial setup. You now know how to install MX Linux 19.3. Feel free to explore your latest MX Linux installation and drop a comment below about what you think of MX Linux.
Find out here, the top 4 things to do with a fresh MX Linux 19.3 installation.


